Photoshop Report:
Introduction:
With the second year starting, I knew that the software’s we use will have to be known with good knowledge of how to navigate them and how to apply the required skills and techniques. With my knowledge of how to use Photoshop, I do know how to do simple tasks and some more complex tasks but I do not know the full extent of how to use the software. With these past few weeks we have been learning tips and tricks on how to use shortcut methods (Keyboard inputs) to aid us with getting more efficient with doing greater tasks, meaning that more important tasks will have longer to be worked on.
Photoshop Shortcuts:
Zoom: Ctrl and – or Ctrl and +
Brush tool: B
Rectangular Marquee Tool: M
Move Tool: V
Lasso Tool: L
Quick Selection Tool: W
Crop Tool: C
Frame Tool: K
Eyedropper Tool: I
Spot Healing Brush Tool: J
Clone Stamp Tool: S
History Brush Tool: Y
Eraser Tool: E
There are some of the many different shortcuts available in photo shop.
Getting to know Photoshop: Homer Simpson:
With this mini tutorial, we were asked to find a high resolution image of Homer Simpson so we could duplicate him, transform him by scale and also just get to know the shortcuts of Photoshop in an easy way.
Ctrl+;= no grid lines.
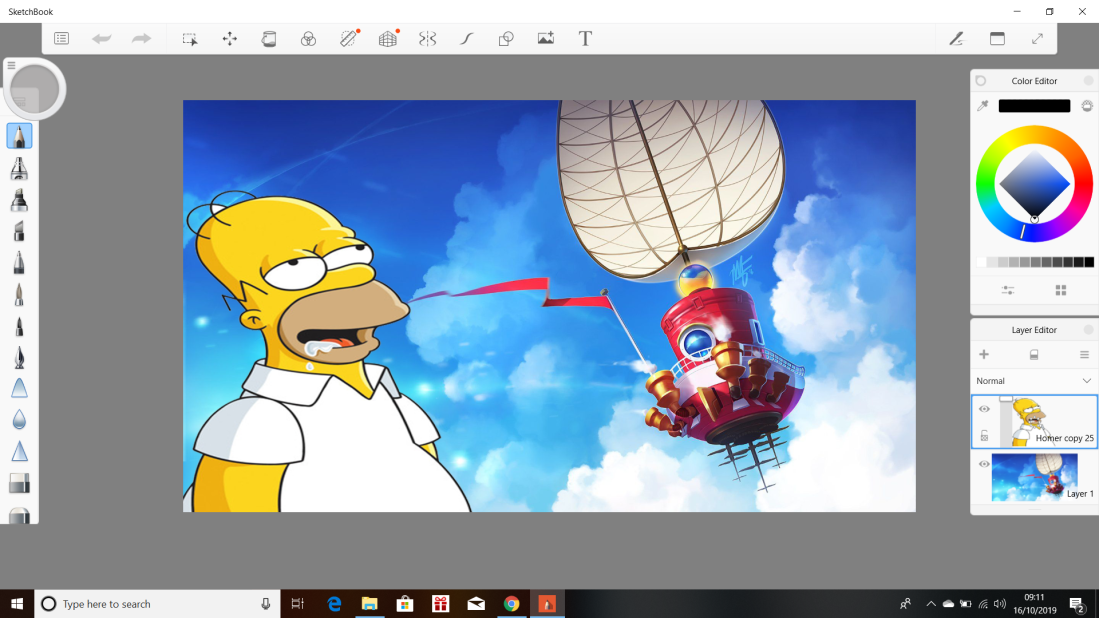
(Not Photoshop but are placeholders) With selecting a layer, this means you dont have to edit the whole picture at once. You only have to chose the layer the component you want to change is on instead of having to edit the whole picture.
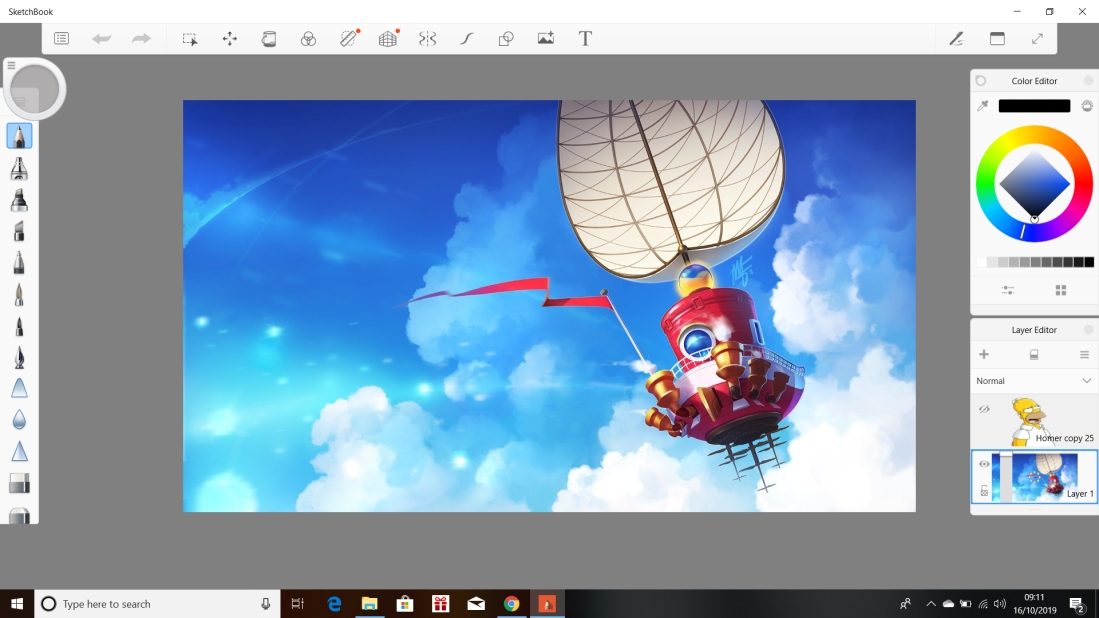
(Not Photoshop but are placeholders) You can also hide layers if you want a closer look at certain layers without the whole picture being put together. This comes in handy when you need to see if the composition will be right for the other layers that are hidden.

(Not Photoshop but are placeholders) You can also move layers around, meaning if you don’t like the composition then just select the move tool and move them around freely. Just remember to select one layer. Otherwise you will move both by mistake.
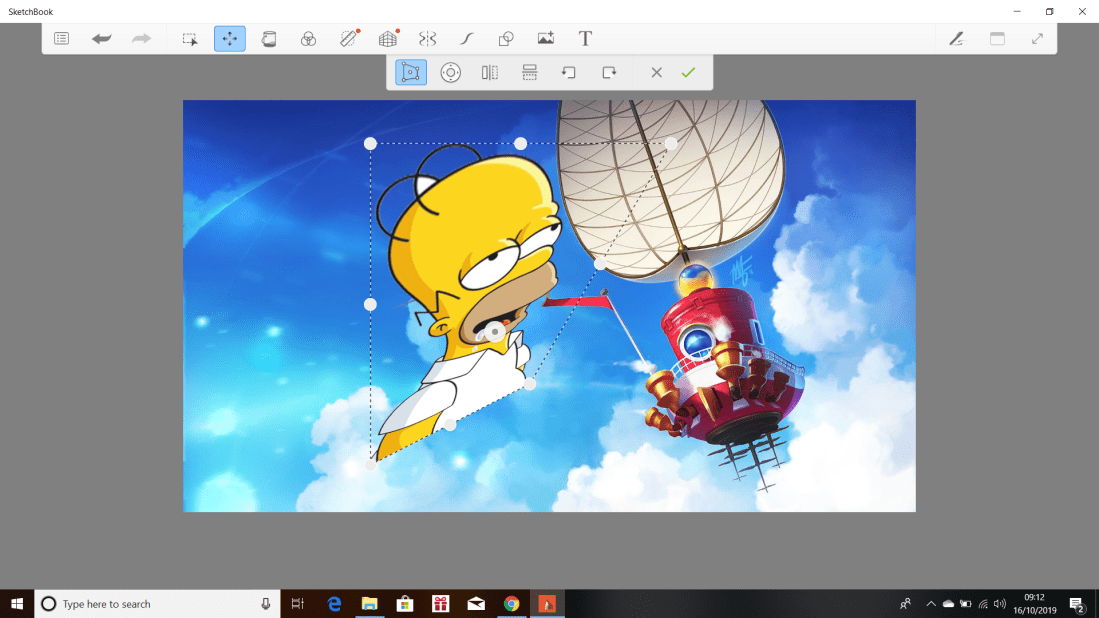
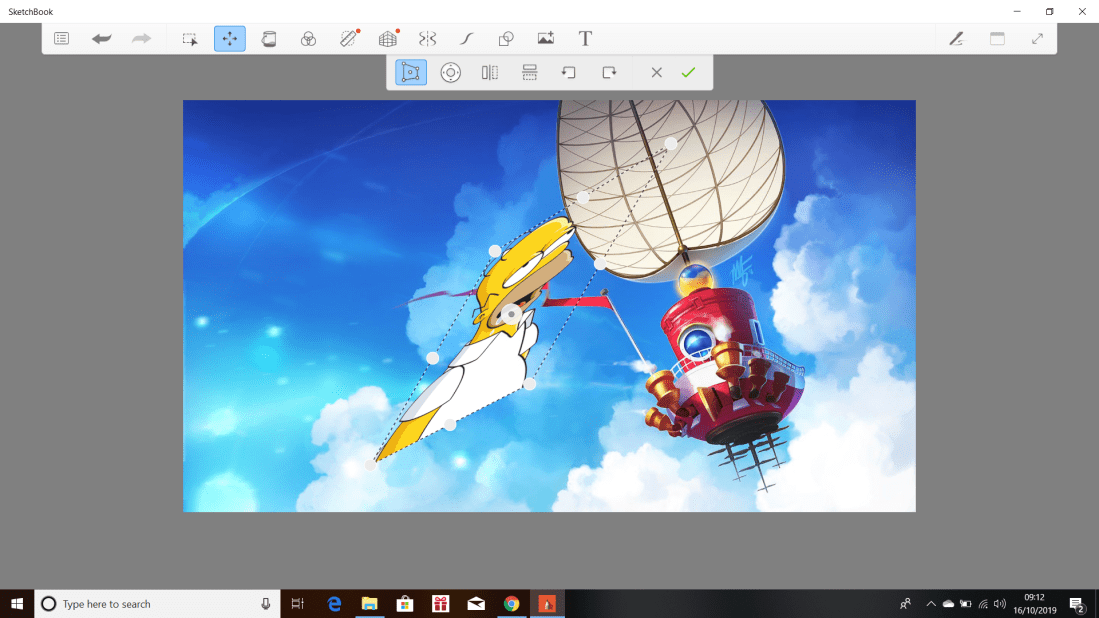
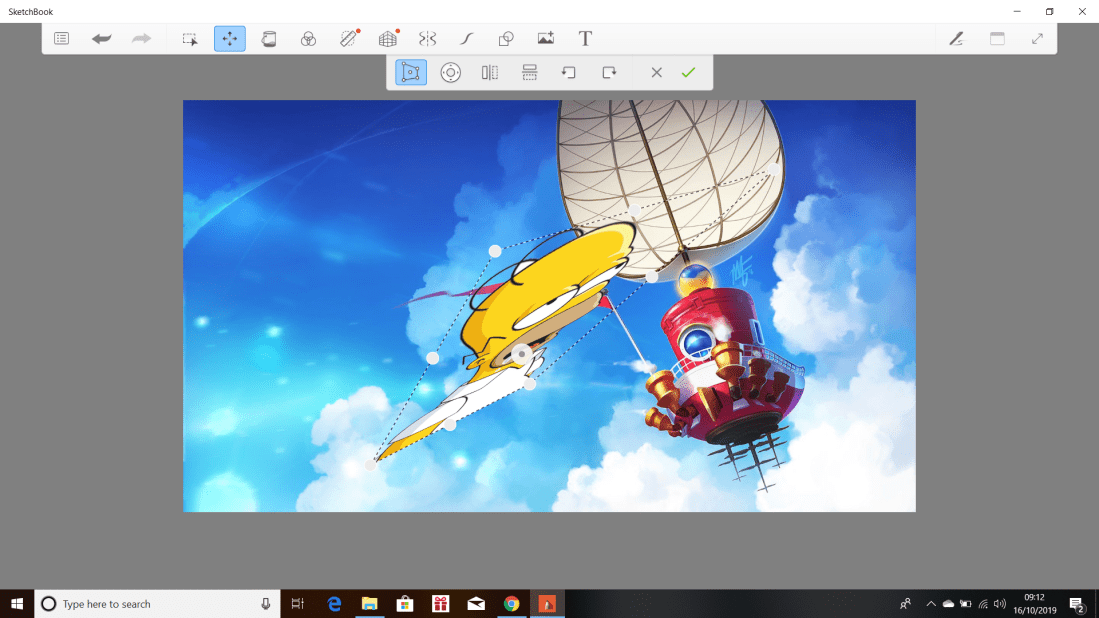
(Not Photoshop but are placeholders) You can also transform layers to make them bigger, smaller or just look distorted. Sometimes this can be very helpful but in these examples I’m just messing around to understand how the tool works.
Other Kinds Of Shortcuts:
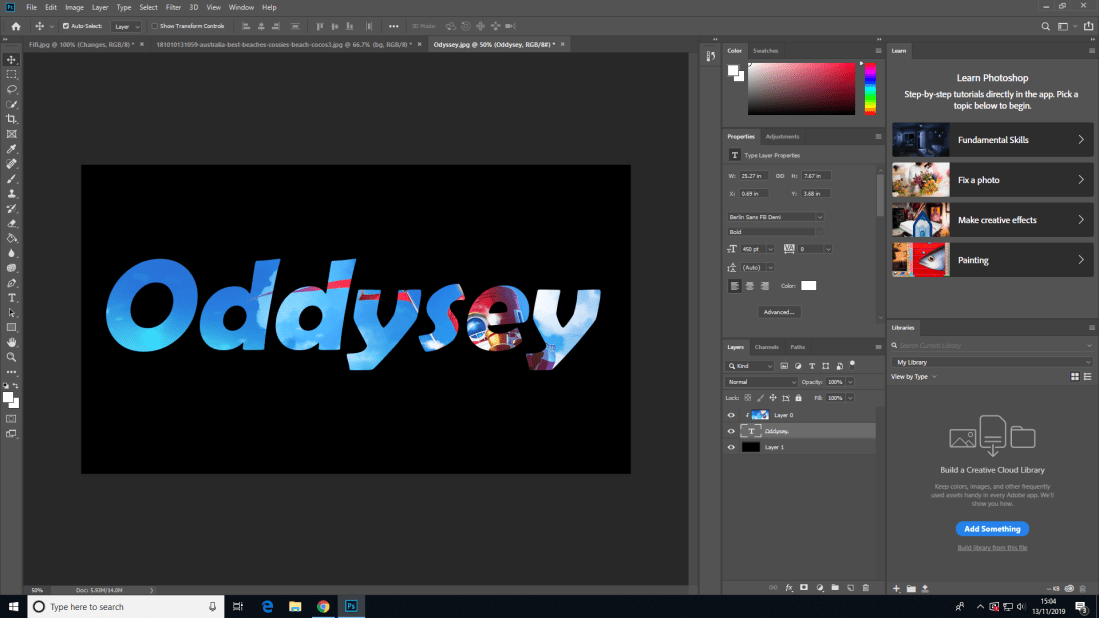
Layer Style: Double click the layer besides the text. With layer styles, they allow you to do many different things to the text you have created on that layer. Here’s an example.
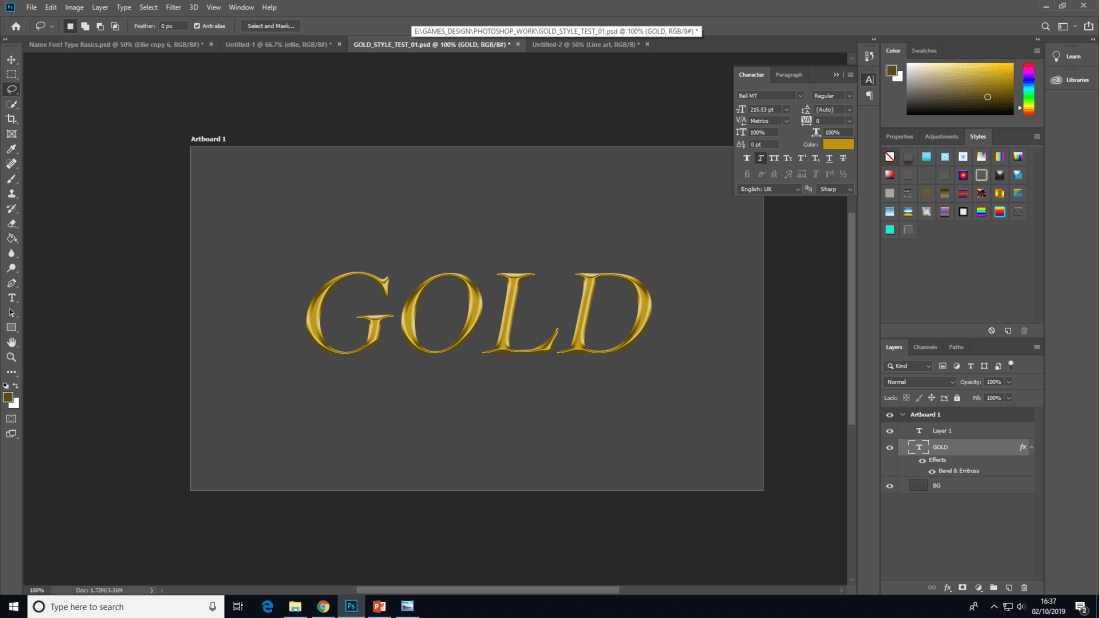
With this example, I have made the word ‘gold’ look like it’s real life counterpart. This was done by finding a colour close to the pure metal in colour picker and using layer styles to bevel and emboss it to give it more dimension and that shine gold has.
Character: Window and then scroll down to Character. With character, this shows you information about your text. This includes the font, size, colour and it also gives you the option to make all your text the same size, in bold, italics and many more options.
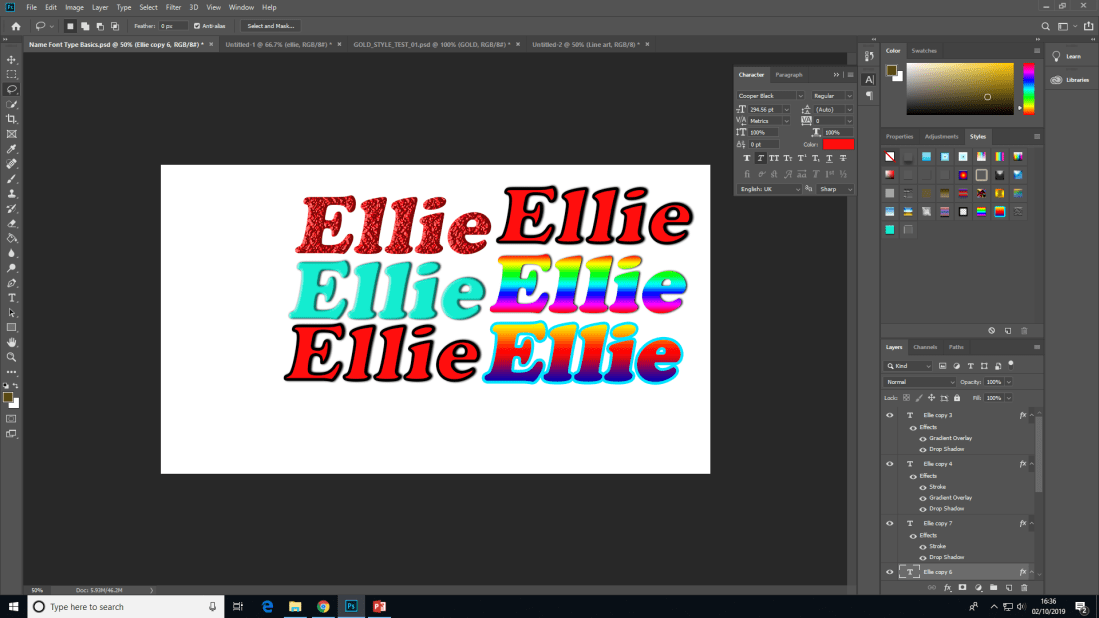
Character: Window and then scroll down to Character. With character, this shows you information about your text. This includes the font, size, colour and it also gives you the option to make all your text the same size, in bold, italics and many more options.
Duplicate: Alt + click and drag. With duplicating your text, you can make as many of the same exact text in the same font, making it easier to make a title with many words in the same font, size and style. However, you can also single a word out and change it without having to change anything else.
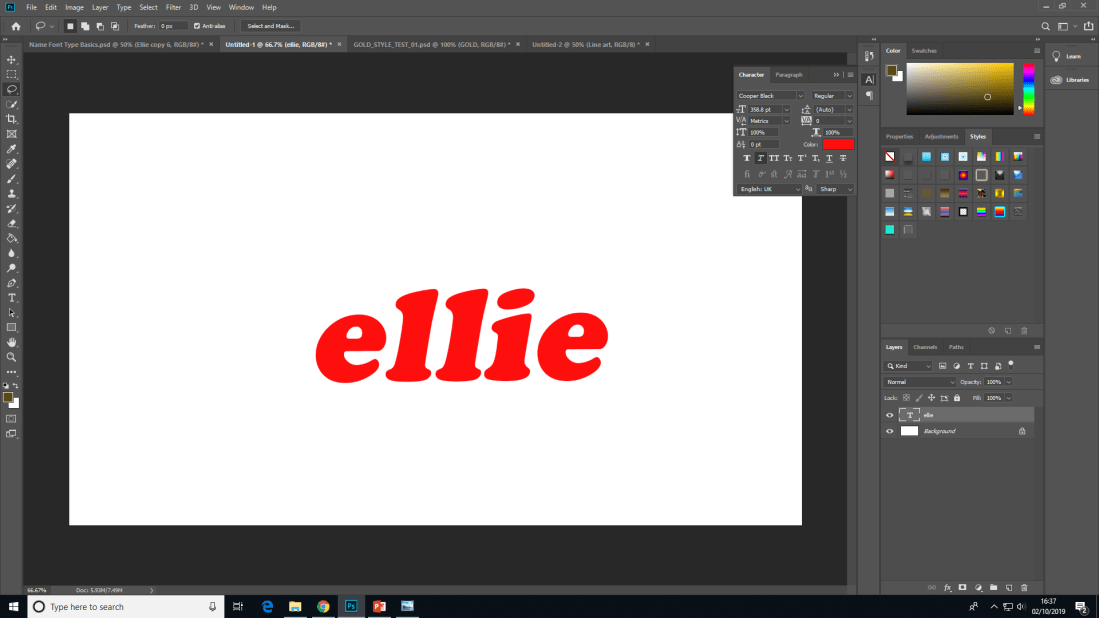
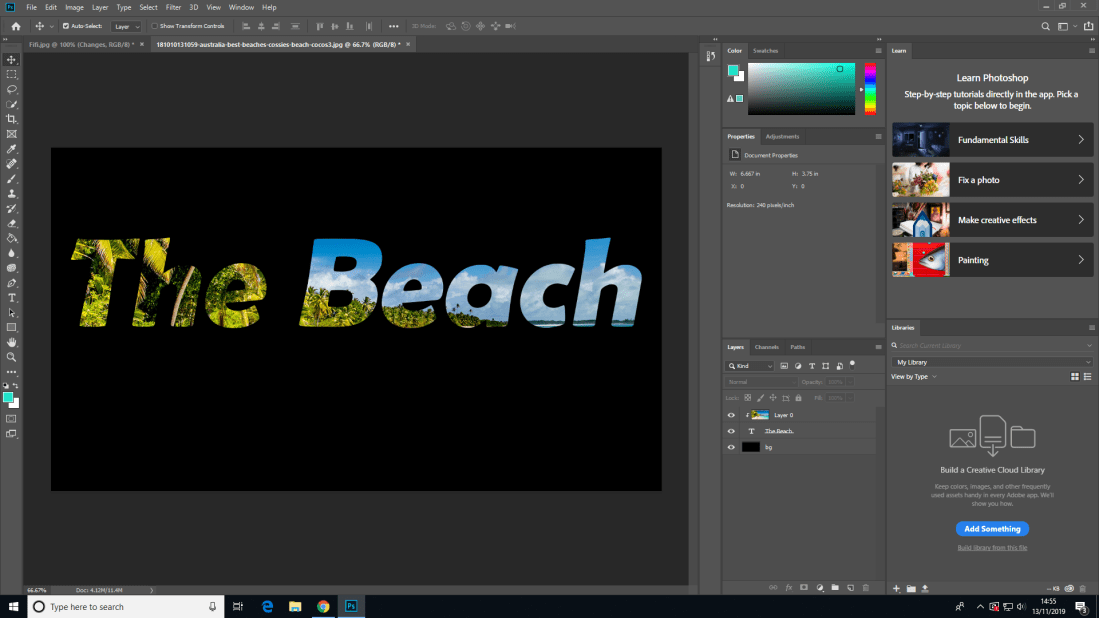
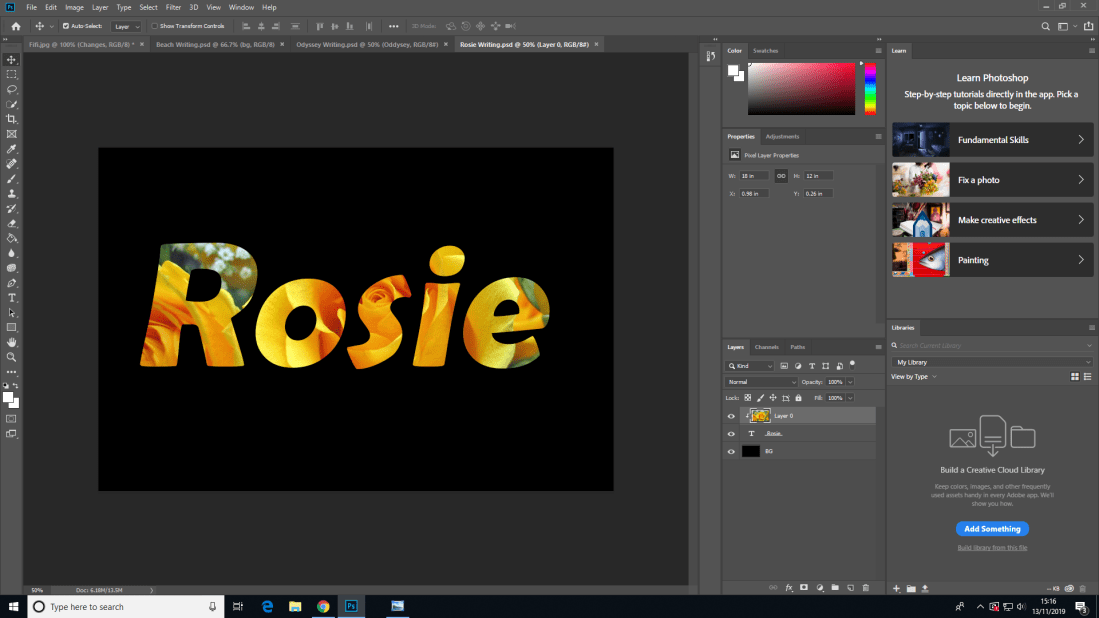
This screenshot shows the first attempt at the new techniques we had access to through layer styles.
Spot Healing Brush Tool:
Definition of the ‘spot healing brush tool’:
In the simplest way to explain this tool would be to have the ability to seamlessly cover over (or blend) imperfections (eczema, acne, etc). This tool also helps with making the imperfections completely vanish, meaning that some people can easily get away with getting too carried away to accomplish the look you see in most magazines.
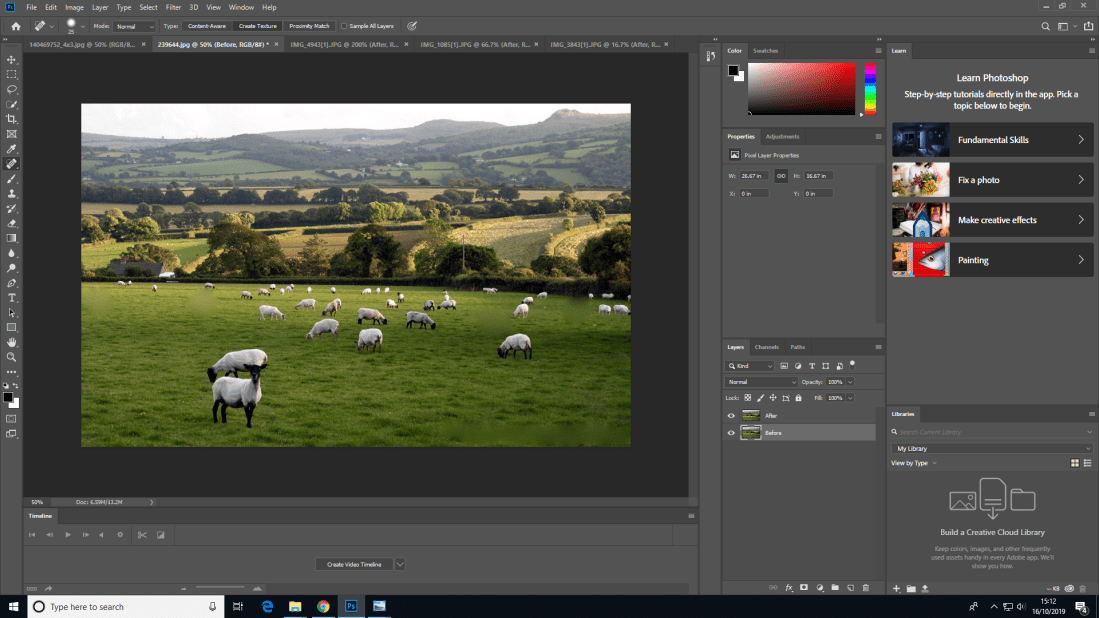
(Before)
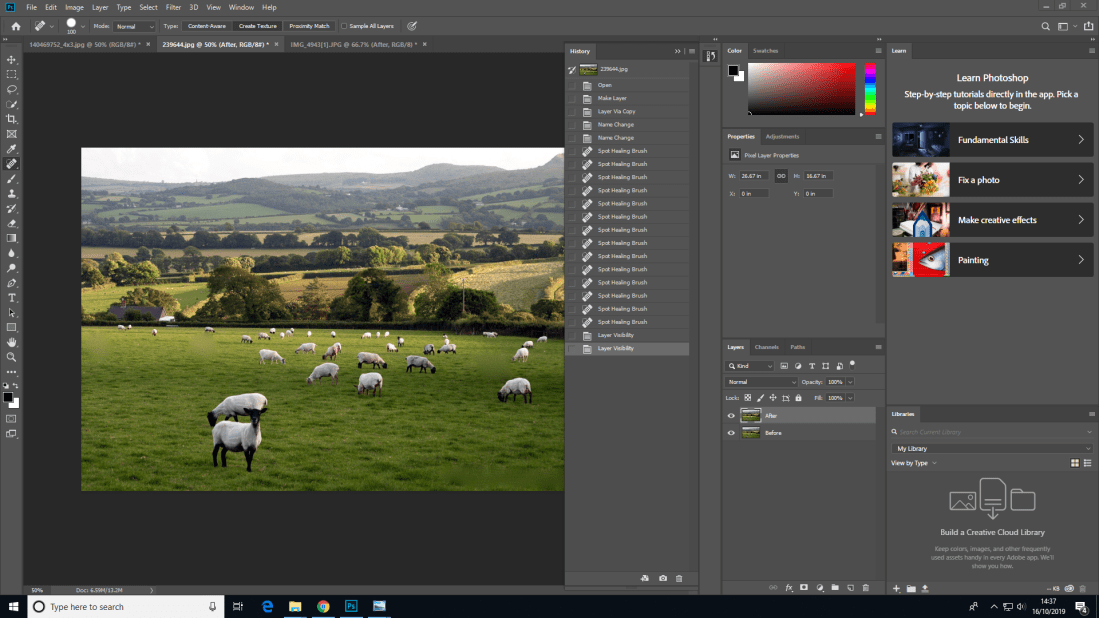
(After)
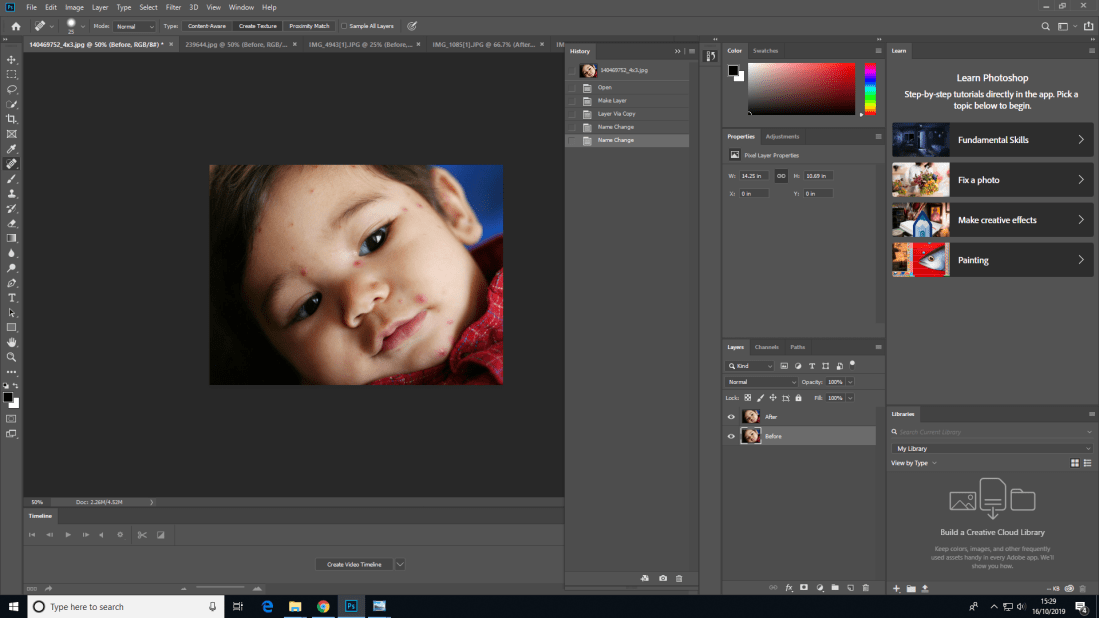
(Before)
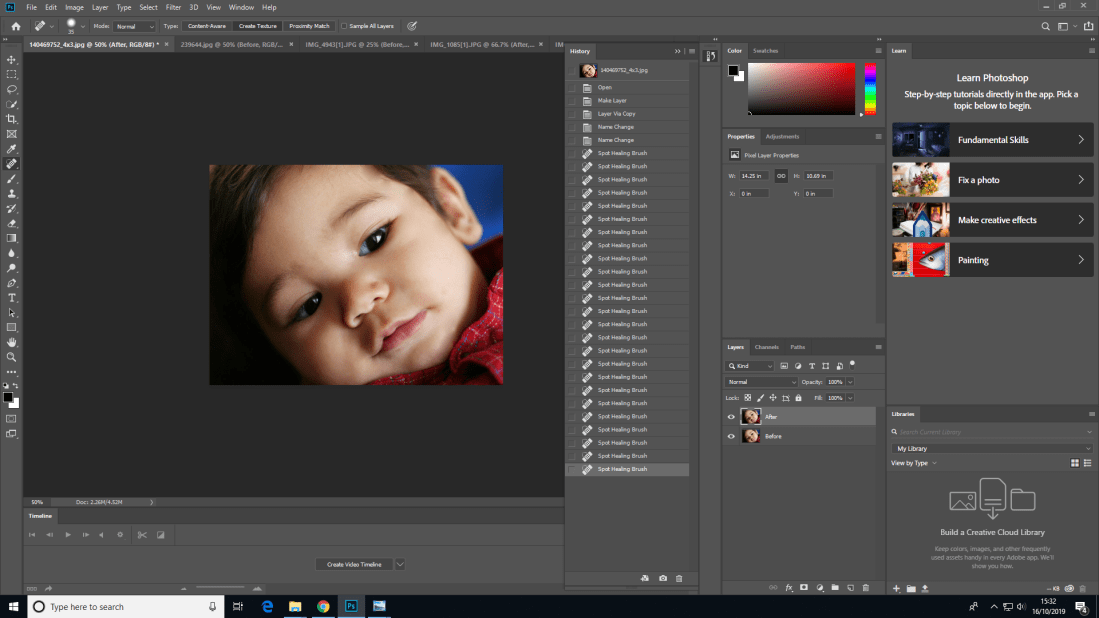
(After)
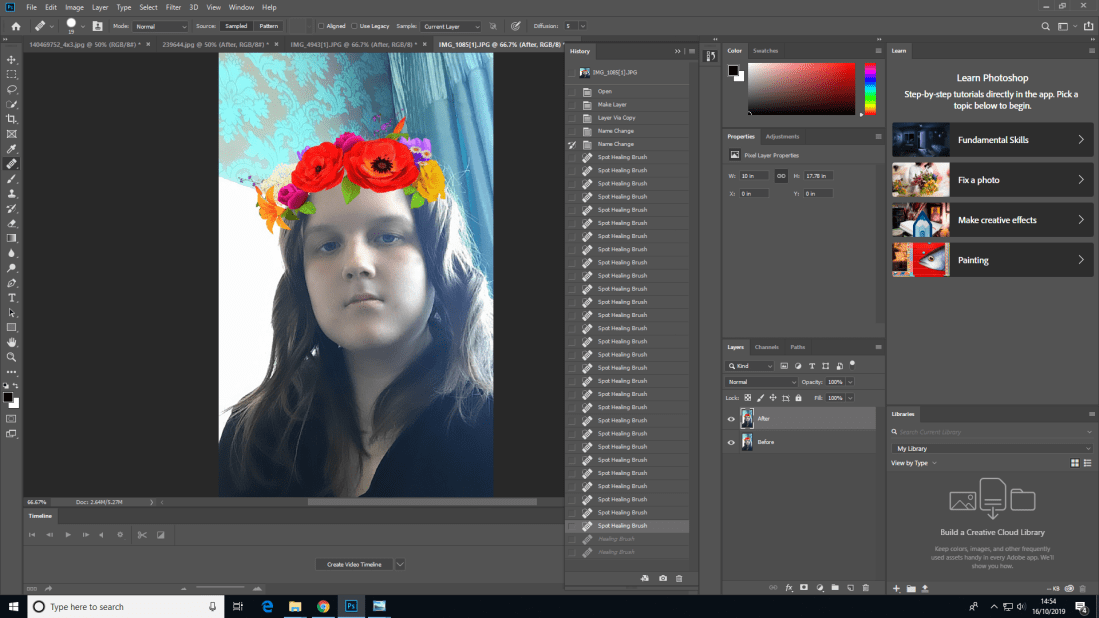
(After)
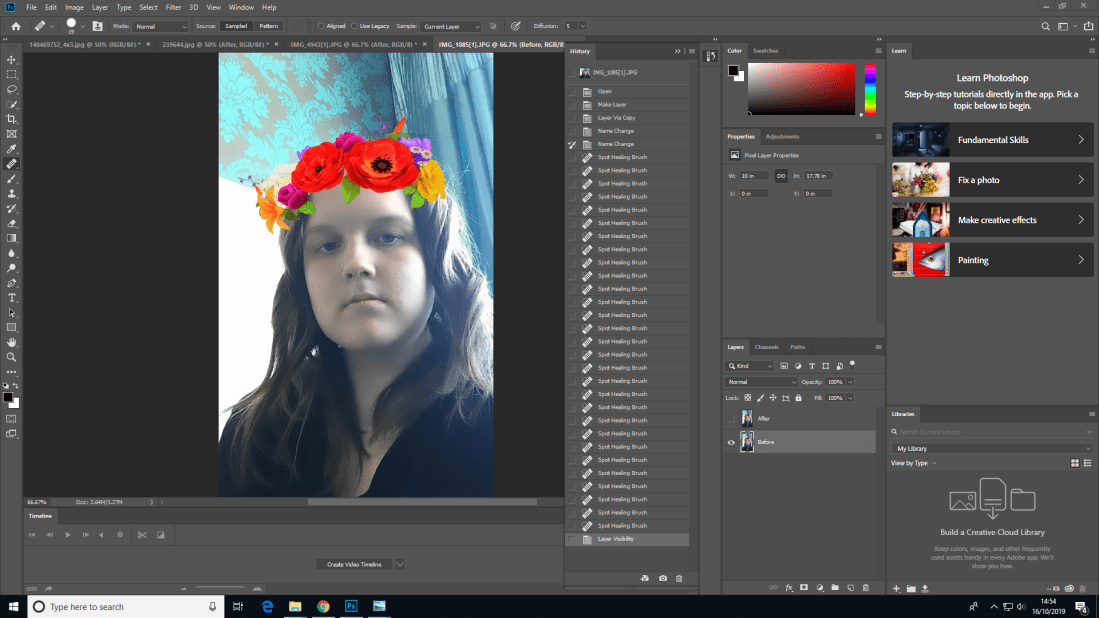
(Before)
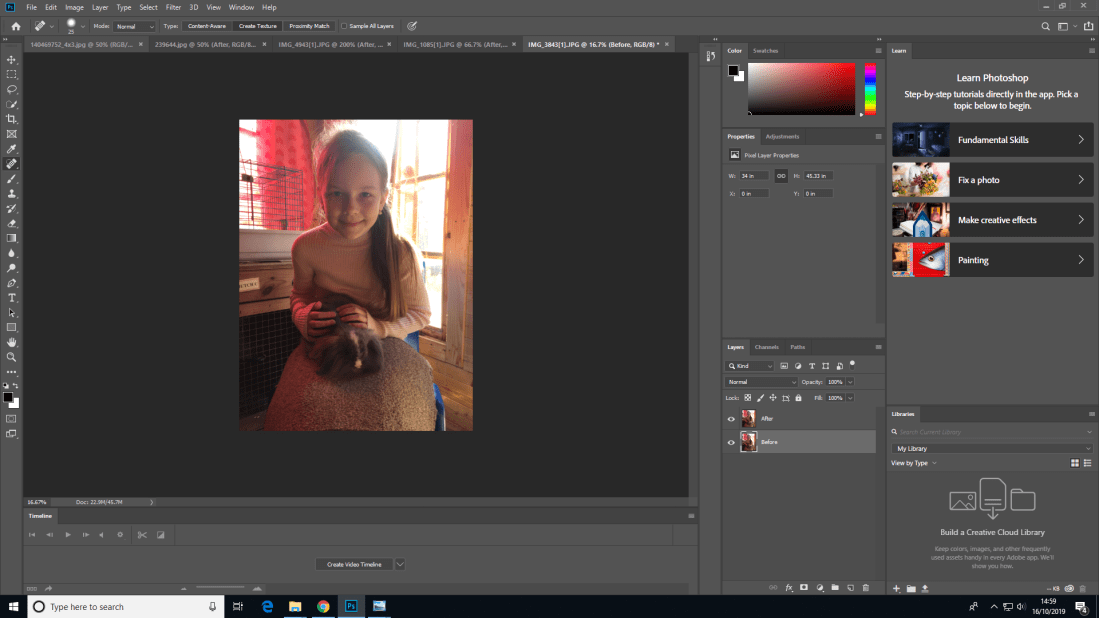
(Before)
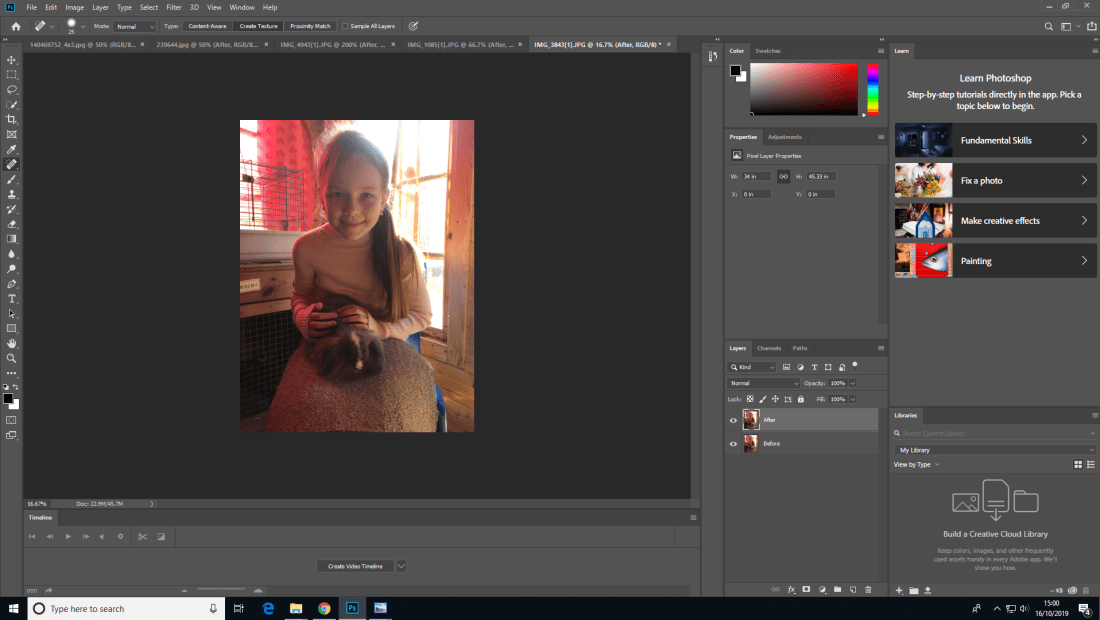
(After)
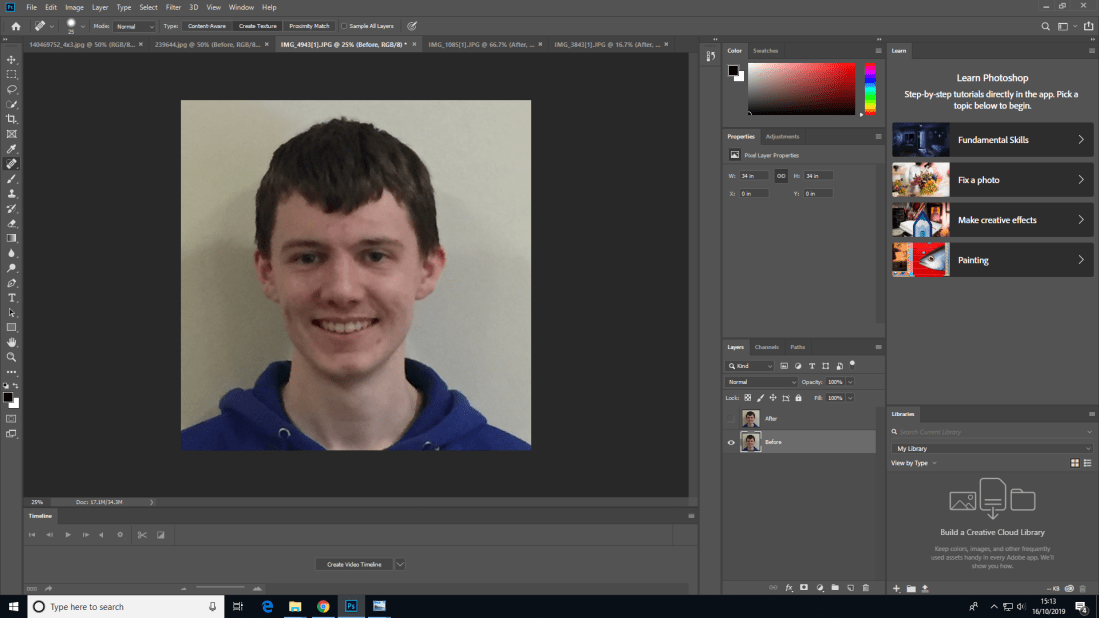
(Before)
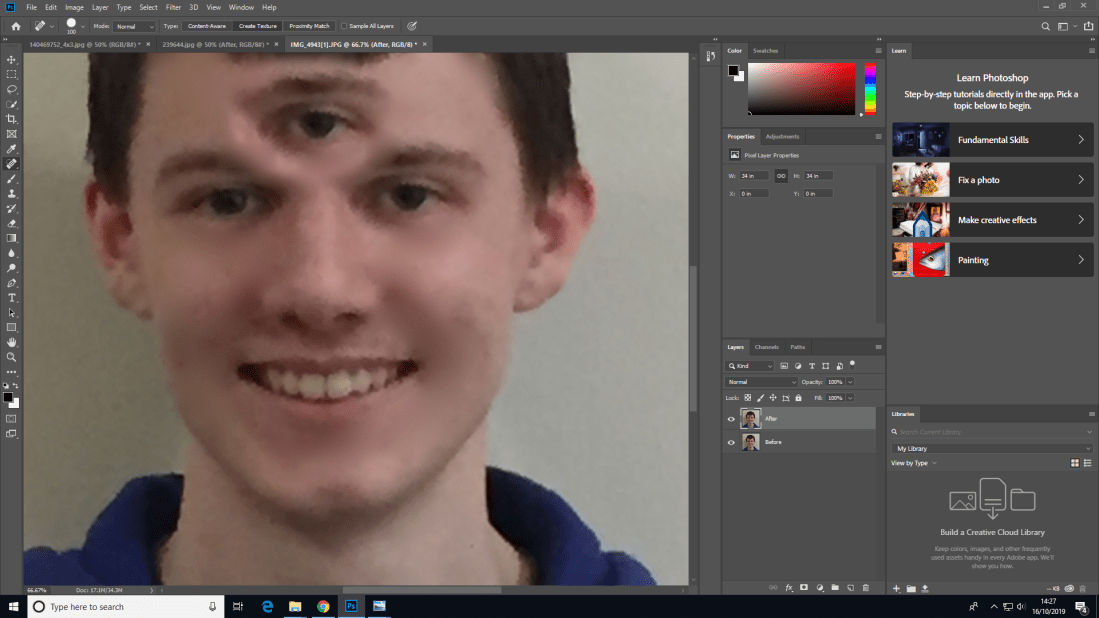
(After)
Satire: To make fun of or criticize stupidity or other’s voices, mostly being used in politics and other topical issues.
What does something to do with politics have to do with this?:
To answer that question, Satire can be also known as a ‘parody’ which can be defined as a spoof or a fake version that makes fun of the original. For example, magazine articles are more than likely have had Photoshop used on the models. All of these examples show that Photoshop can fix imperfections.
Definition of a pixel: A minute area of illumination on a display screen, one of many from which an image is composed.
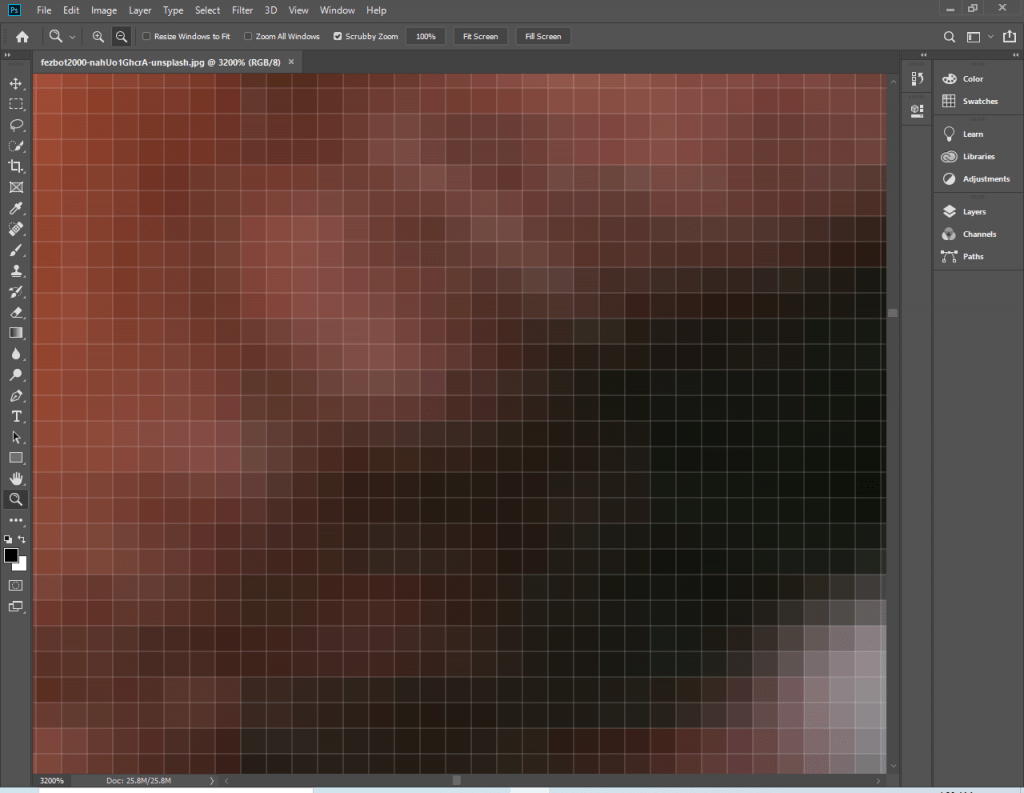
What is contrast?: A principle of art that refers to the arrangement of opposite elements (light vs. dark colors, rough vs. smooth textures, large vs. small shapes, etc.) in a piece so as to create visual interest, excitement and drama.


What is exposure?: exposure is the amount of light per unit area (the image plane illuminance times the exposure time) reaching a photographic film or electronic image sensor, as determined by shutter speed, lens aperture and scene luminance.

With this new knowledge fresh in our minds, we were tasked with finding under and over exposed images to try and fix them. This is done by lowering the levels of contrast and exposure for the 3 main channels. Red, green and blue.
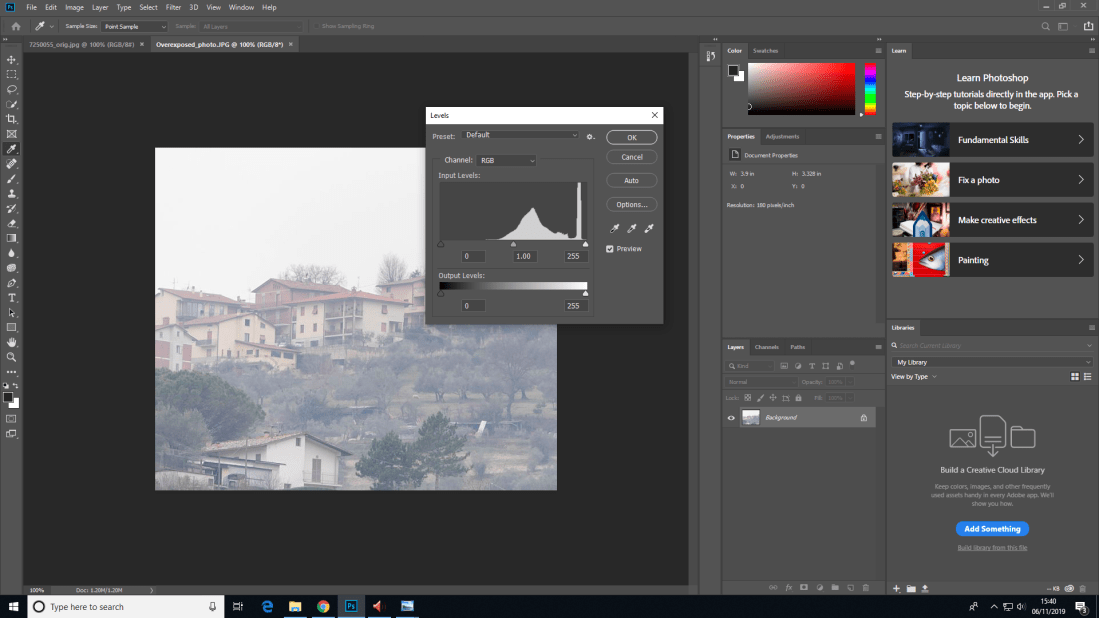
(Overexposed)
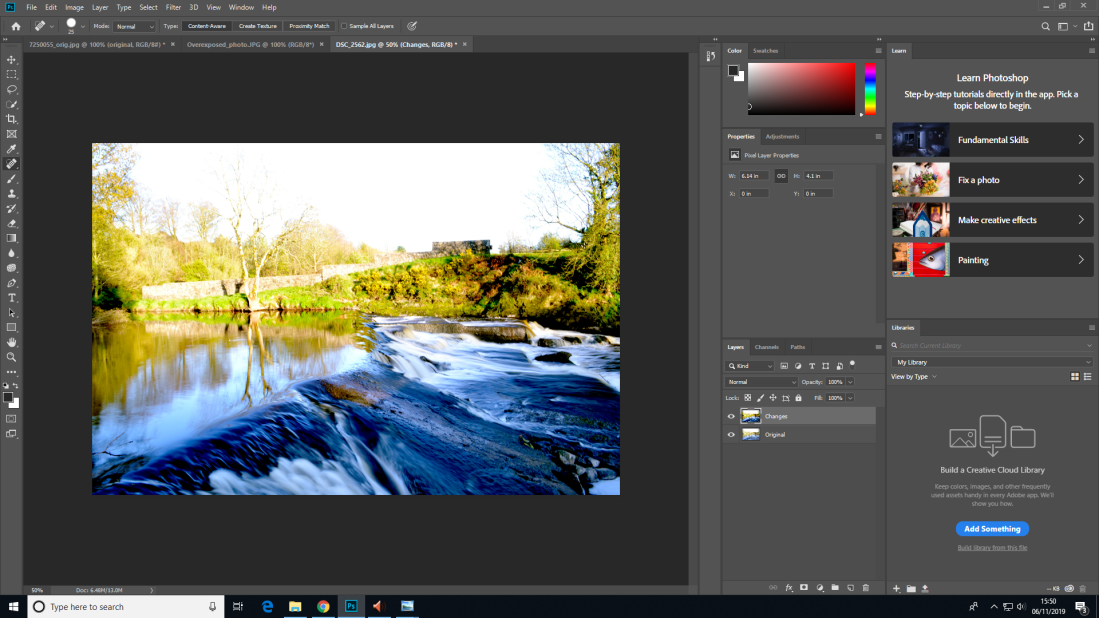
(Changes)
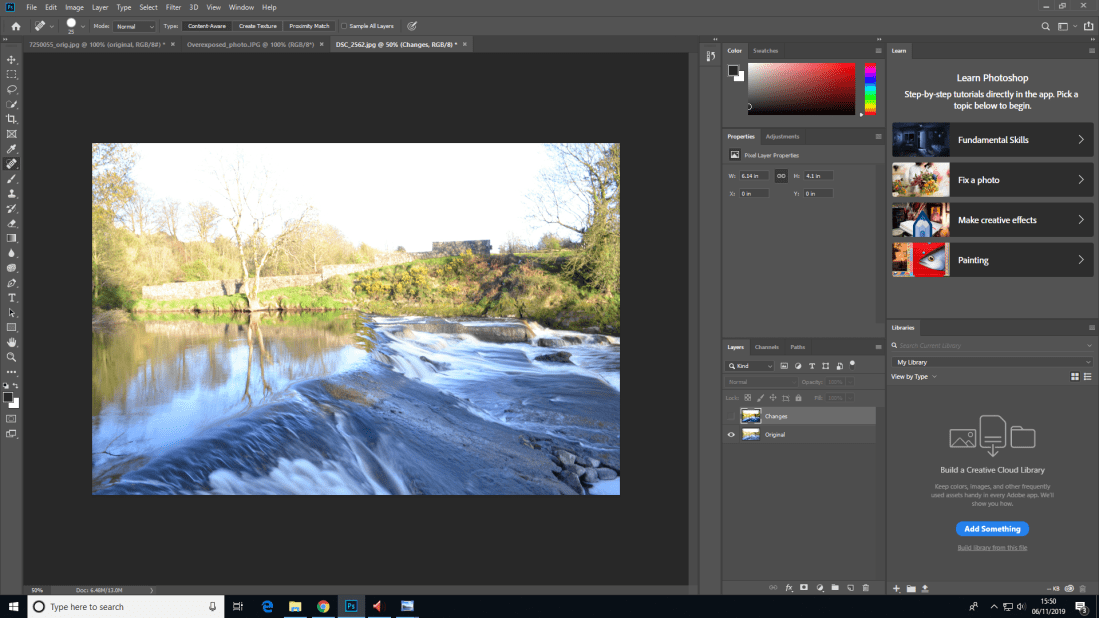
(Original)
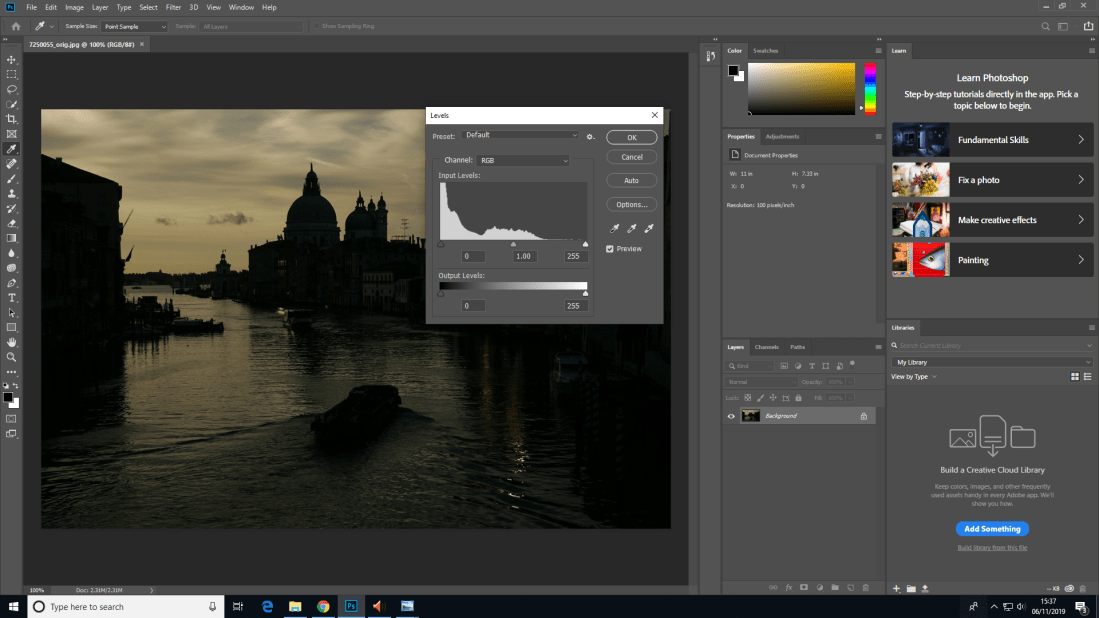
(Underexposed)
With the examples of the photos being over and under exposed, This was done to show how to edit both over exposed and under exposed images since this skill will help with editing textures that may have this problem. By learning this valuable skill, I now know how to be able to not only fix an over or under exposed image but to also use the levels tab to see the details about an image.
Blending Modes:
What are blending modes?:
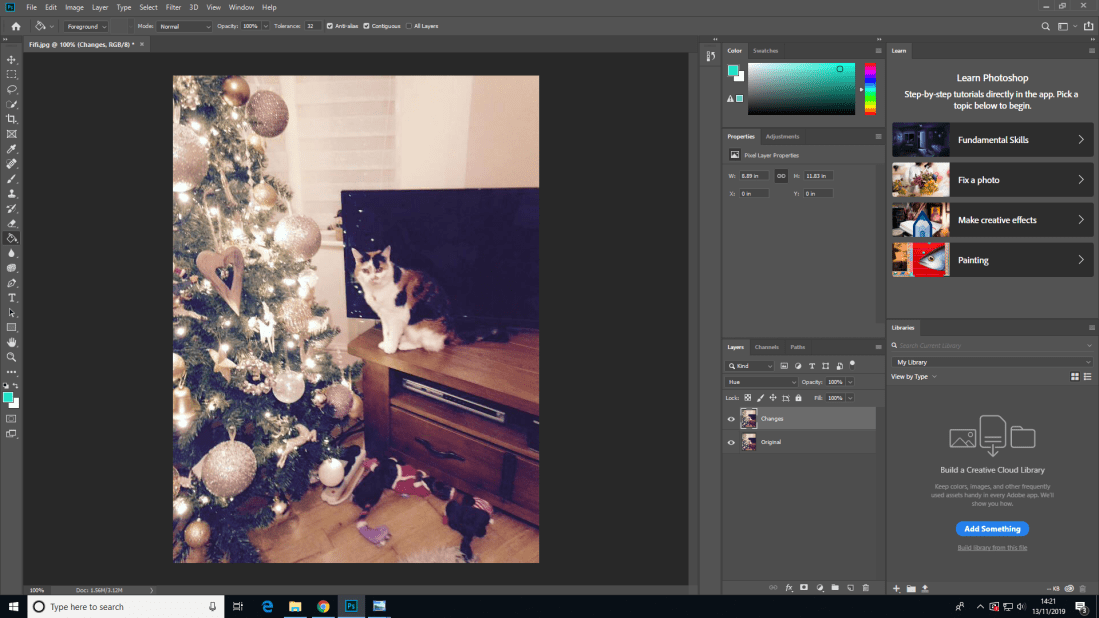
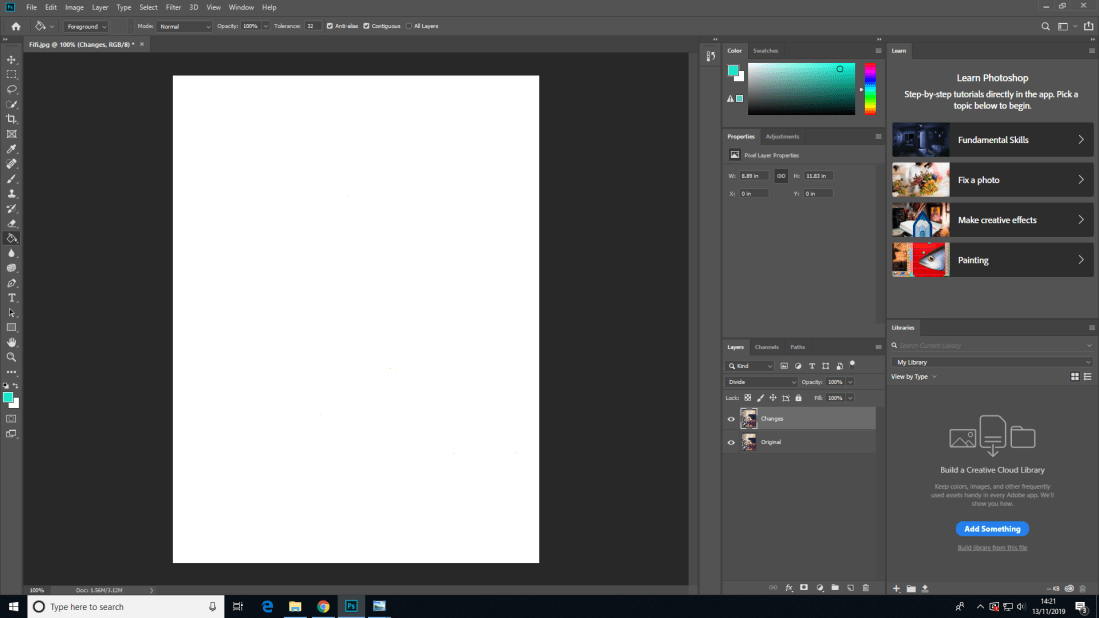
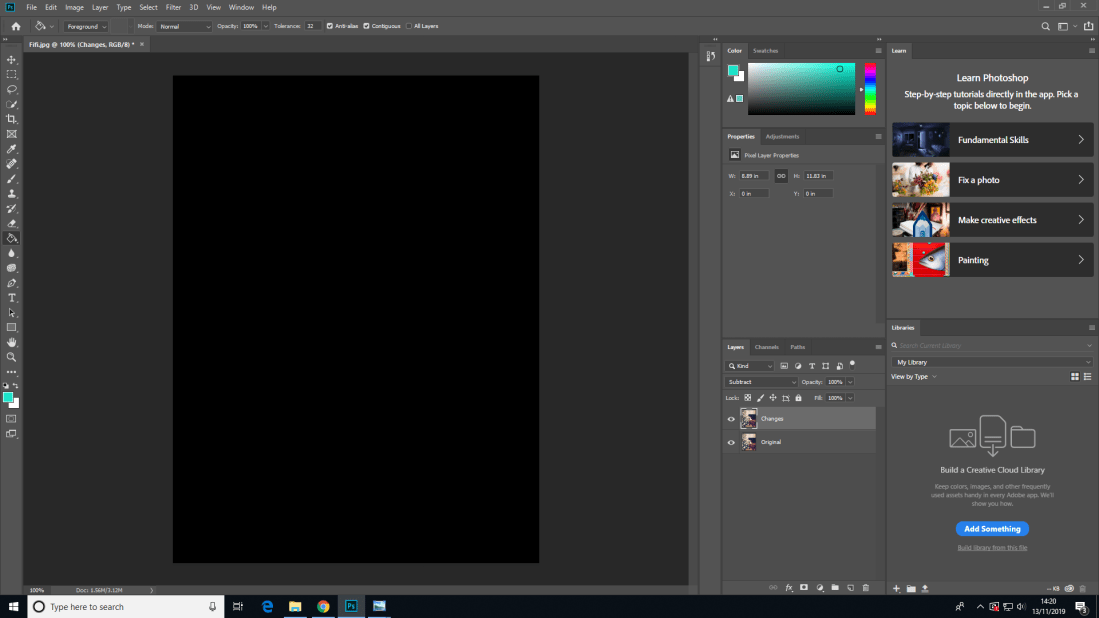
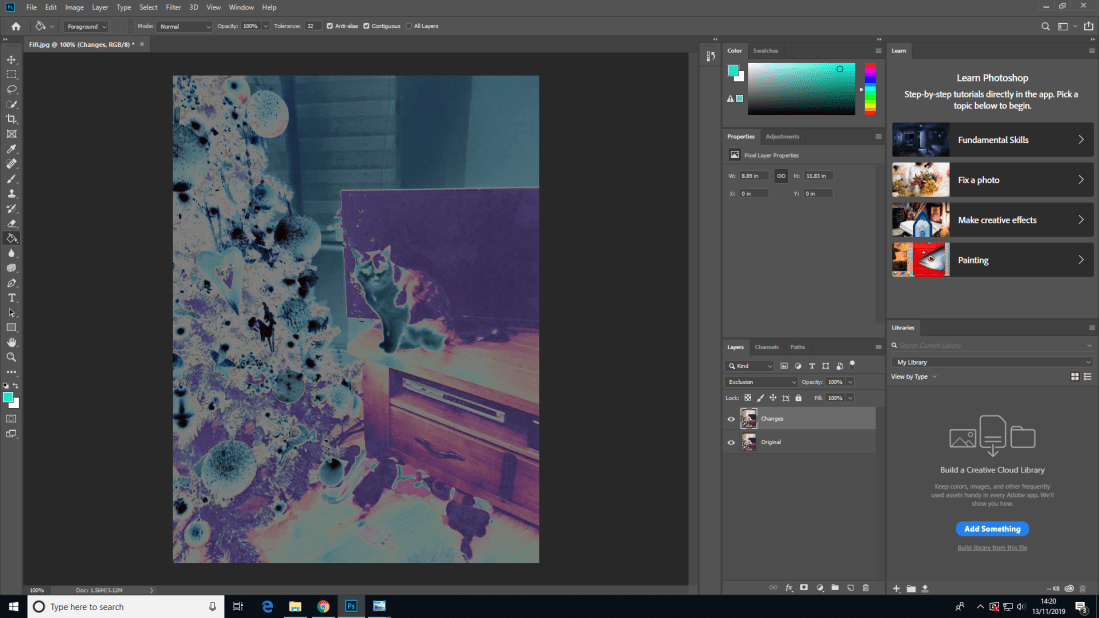
The blending mode specified in the options bar controls how pixels in the image are affected by a painting or editing tool. Think in terms of the following colors when visualizing a blending mode’s effect:
- The base color is the original color in the image.
- The blend color is the color being applied with the painting or editing tool.
- The result color is the color resulting from the blend.
(https://helpx.adobe.com/uk/photoshop/using/blending-modes.html)
There are 19 different types of blending modes. These include:
Normal: This is the default blending mode on every layer that you create.
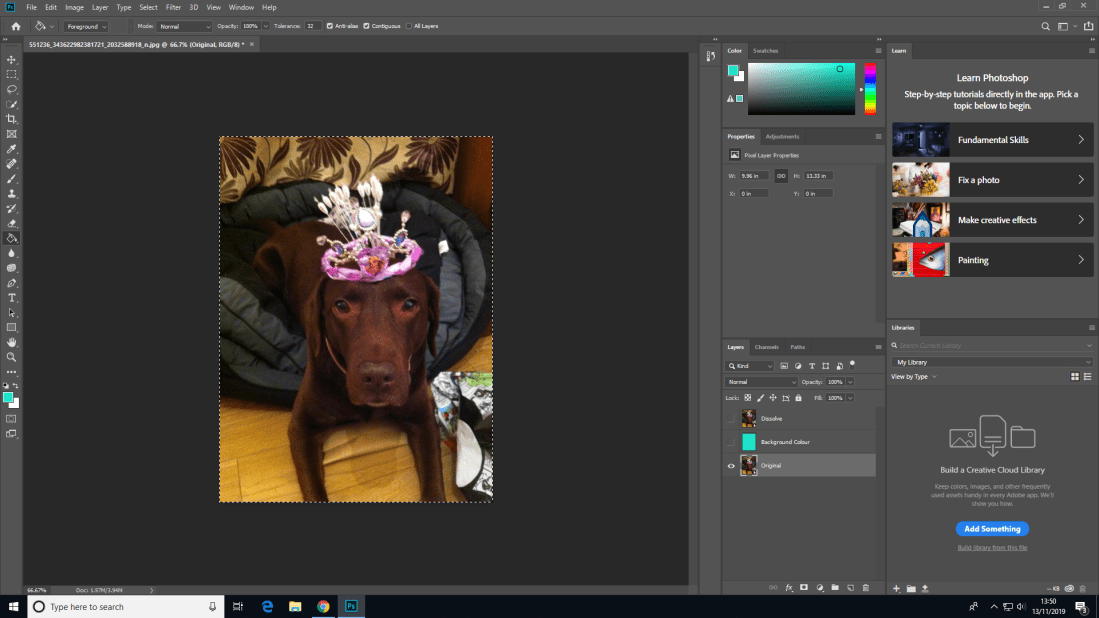
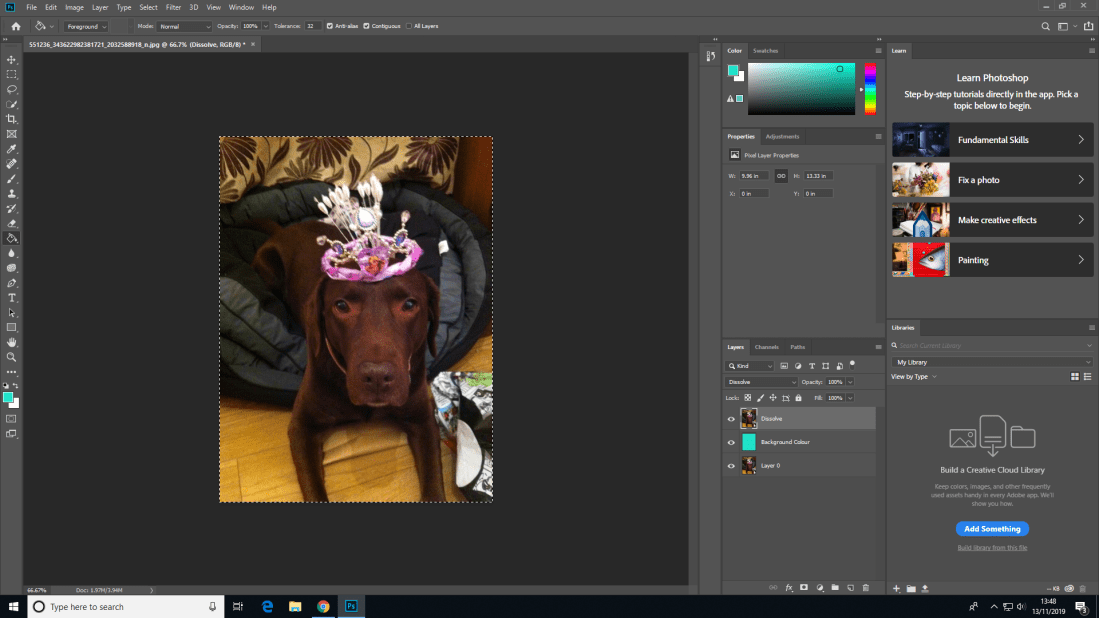
Dissolve: This blending mode deletes random pixels out of the layer, making the colours of the layer beneath comer through.
Behind: This blending mode will edit or paint over the transparent areas of the layer. (Only the transparent areas of the layer are affected.
Clear: This blending style makes the pixels of the layer transparent. However, this only works if the lock transparency option is deselected.
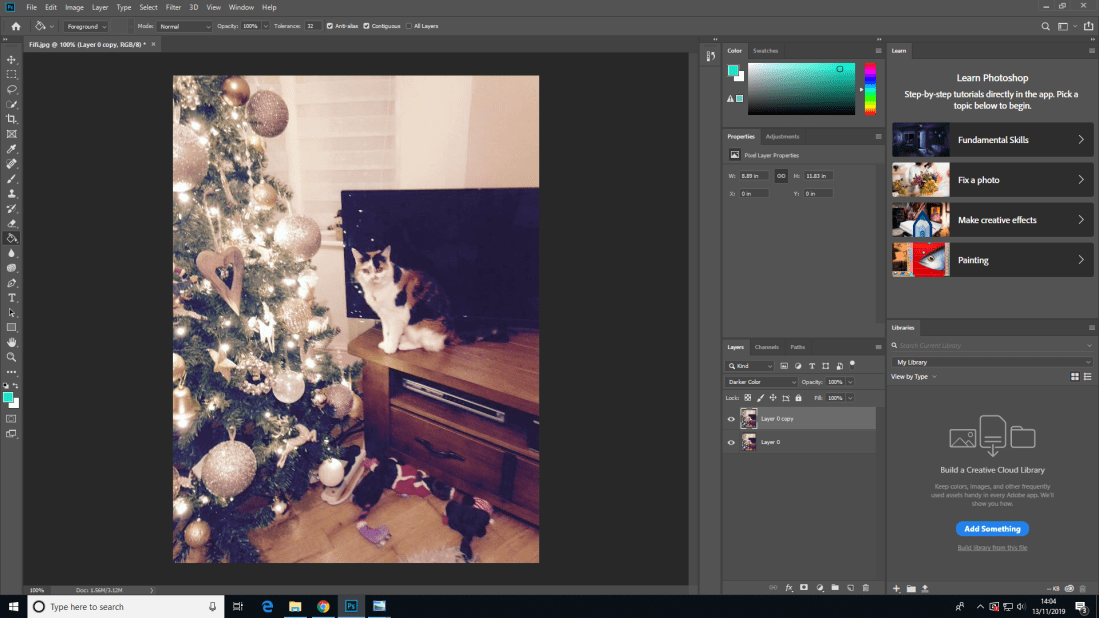
Darken: This blending mode will look at the colour channels and change the colours to be either the base or blending colour, depending on which is darker. However, pixels darker than the blending colour will not be affected.
Multiply: This blending mode mixes the colours together to create a darker colour. If black is included in the colours mixed together it will automatically turn to black as a result.
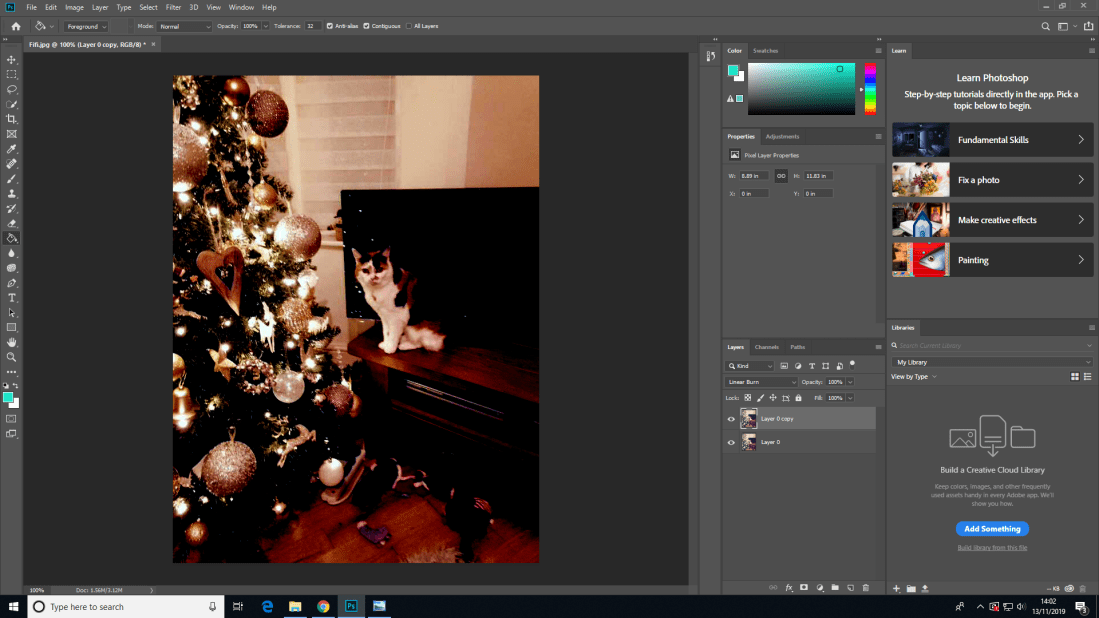
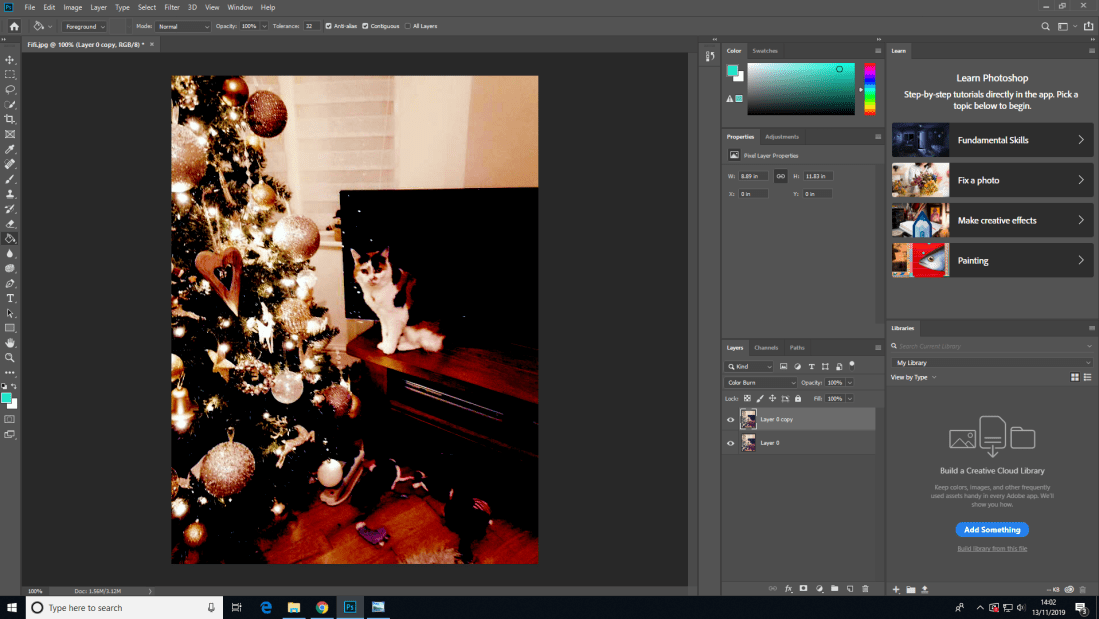
Colour Burn:
Linear Burn:
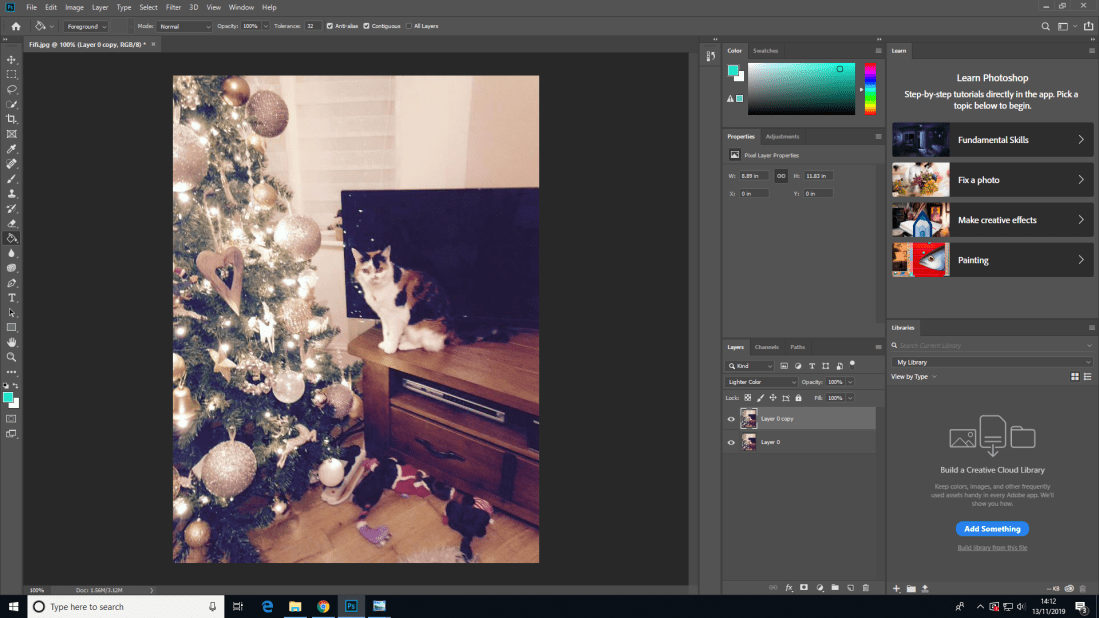
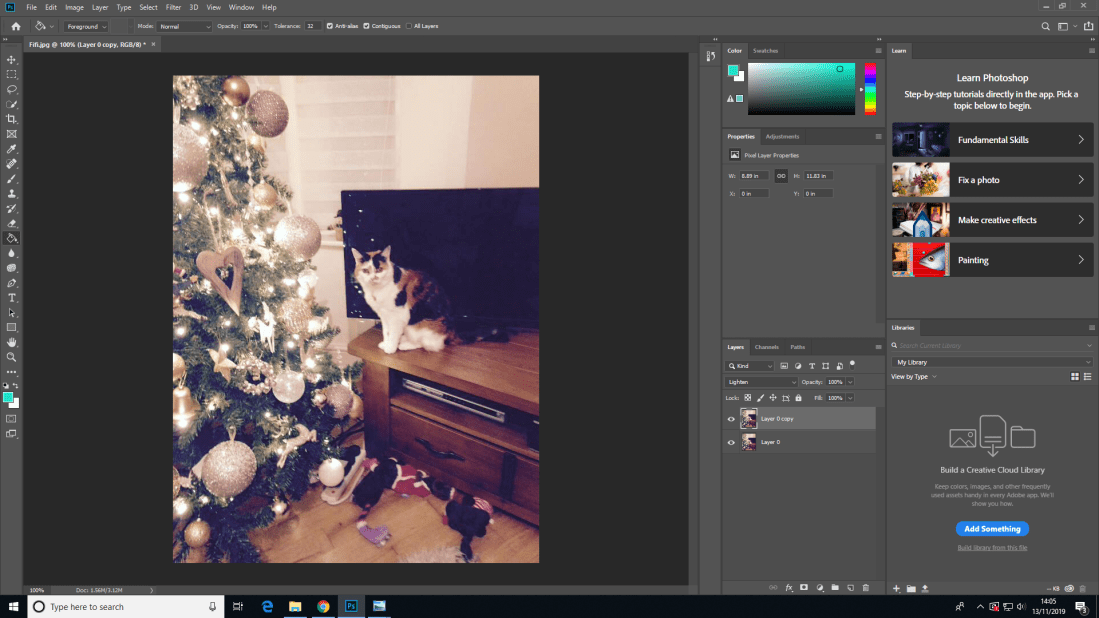
Lighten:
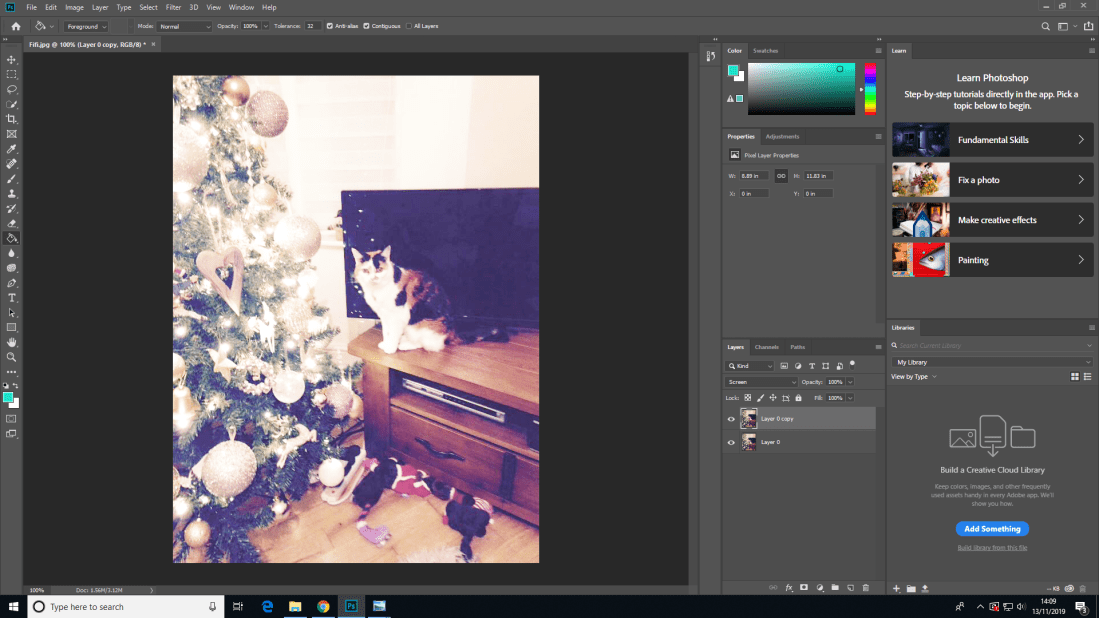
Screen:
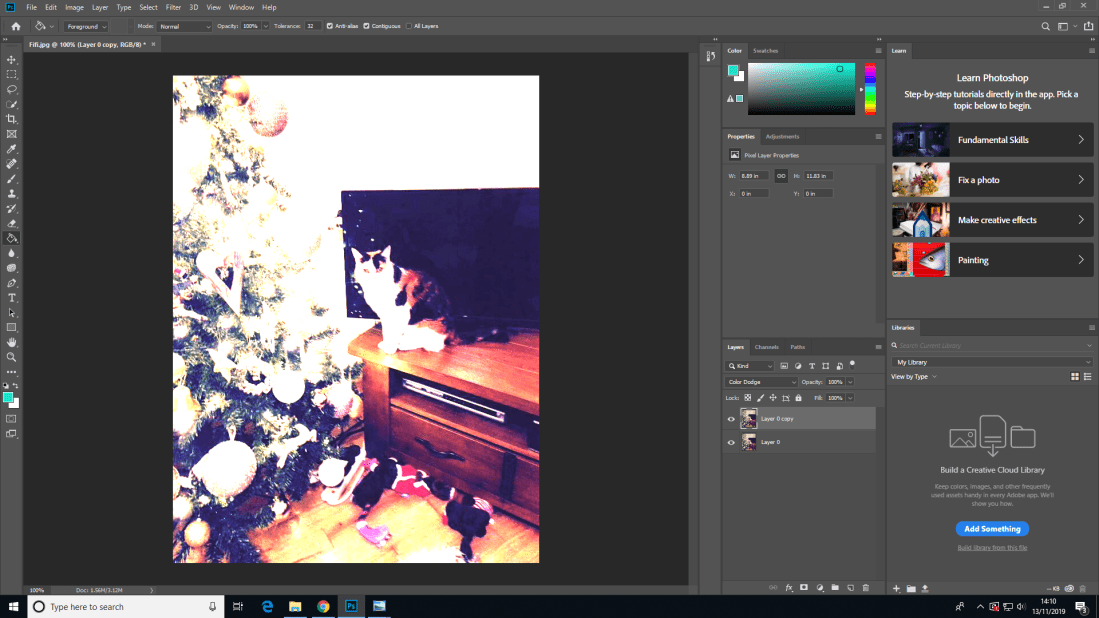
Colour Dodge:
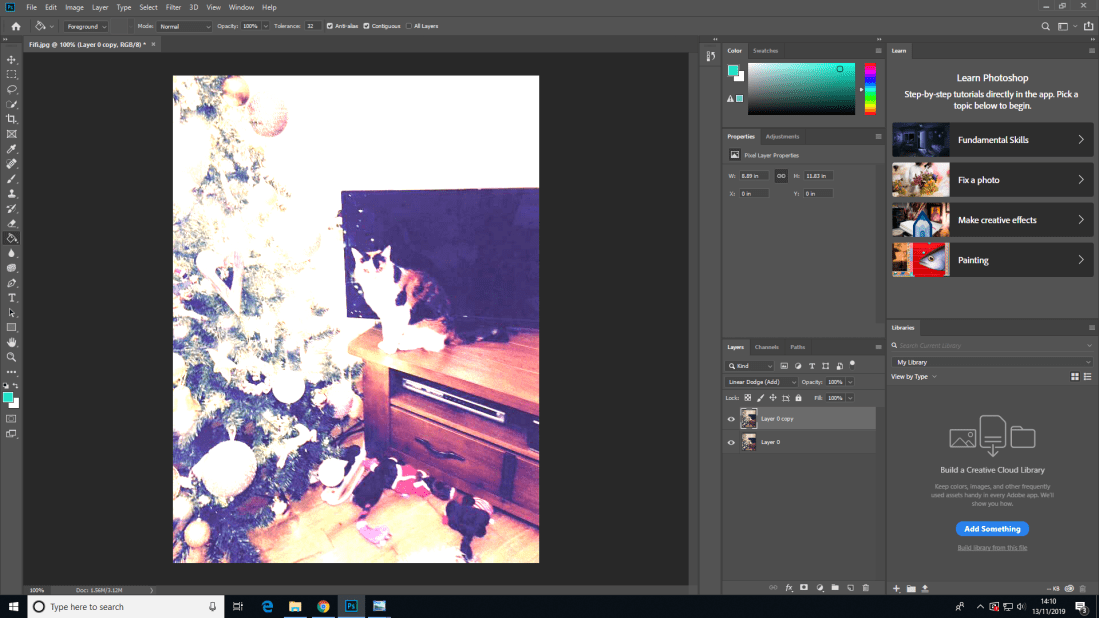
Linear Dodge:
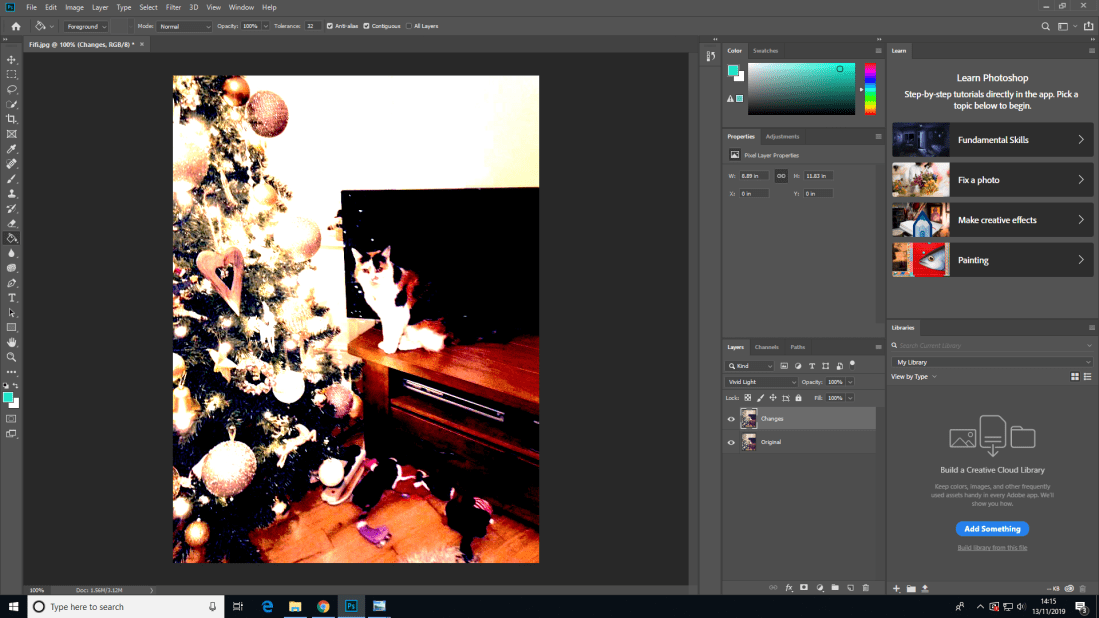
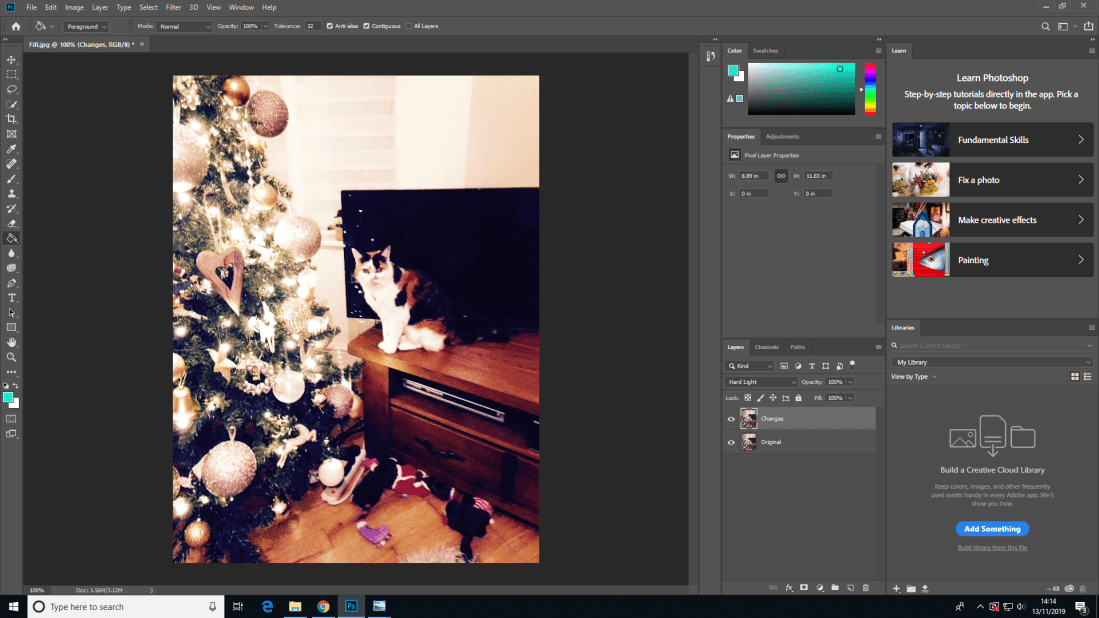
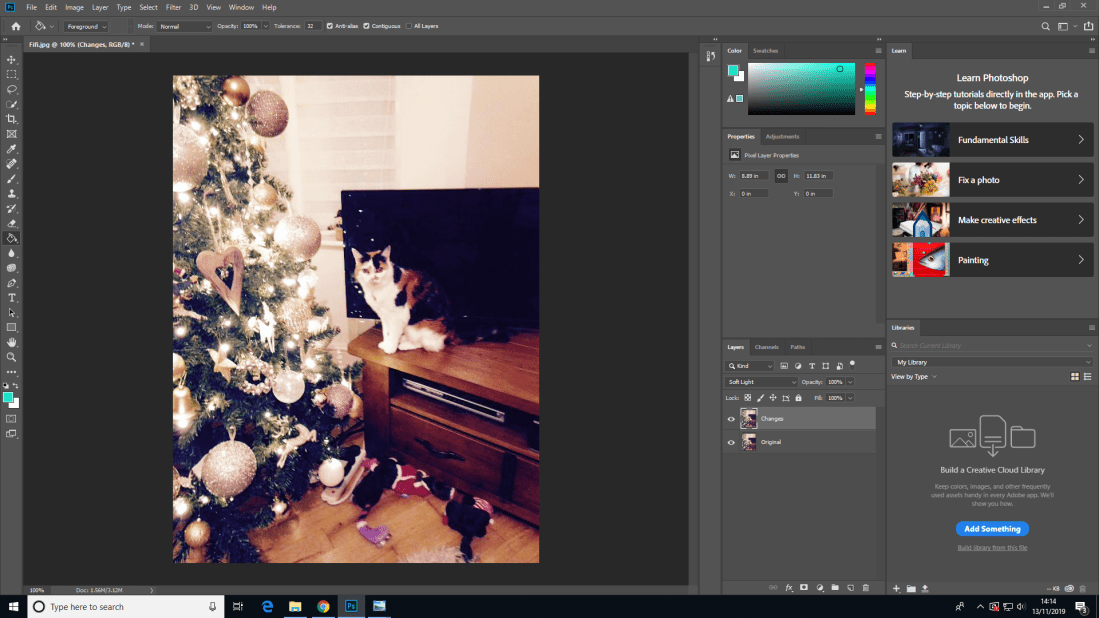
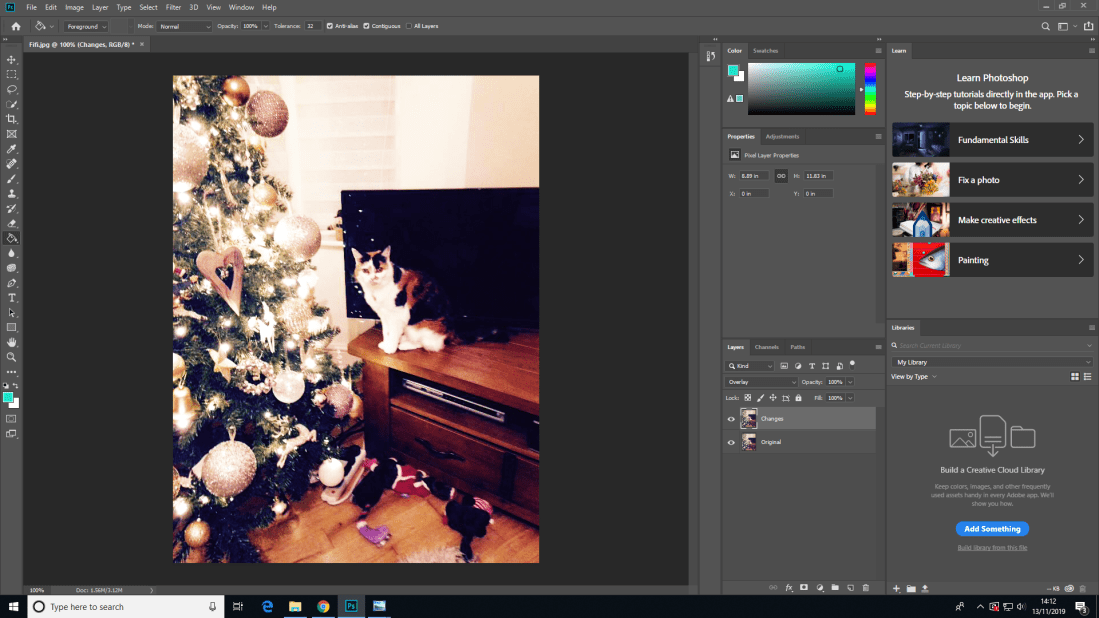
Overlay:
Soft Light:
Hard Light:
Vivid Light:
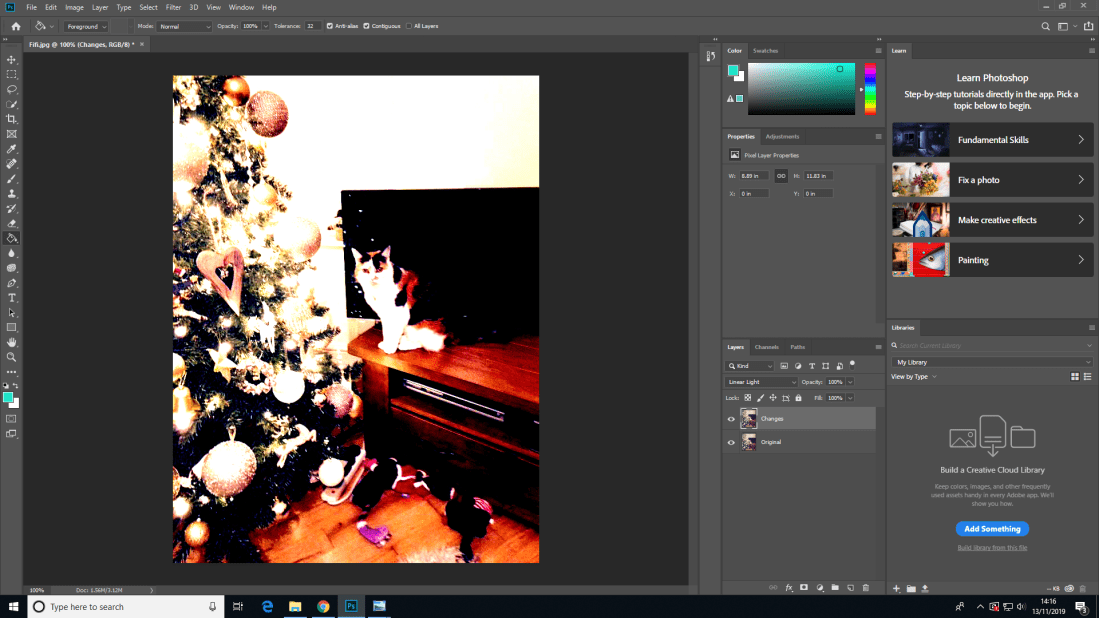
Linear Light:
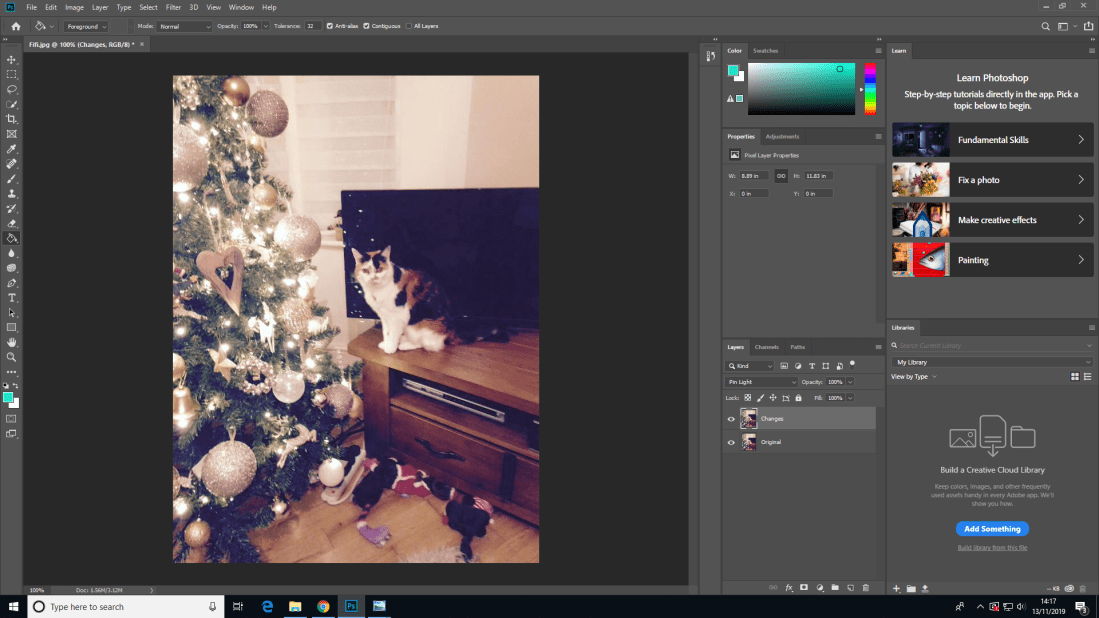
Pin Light:
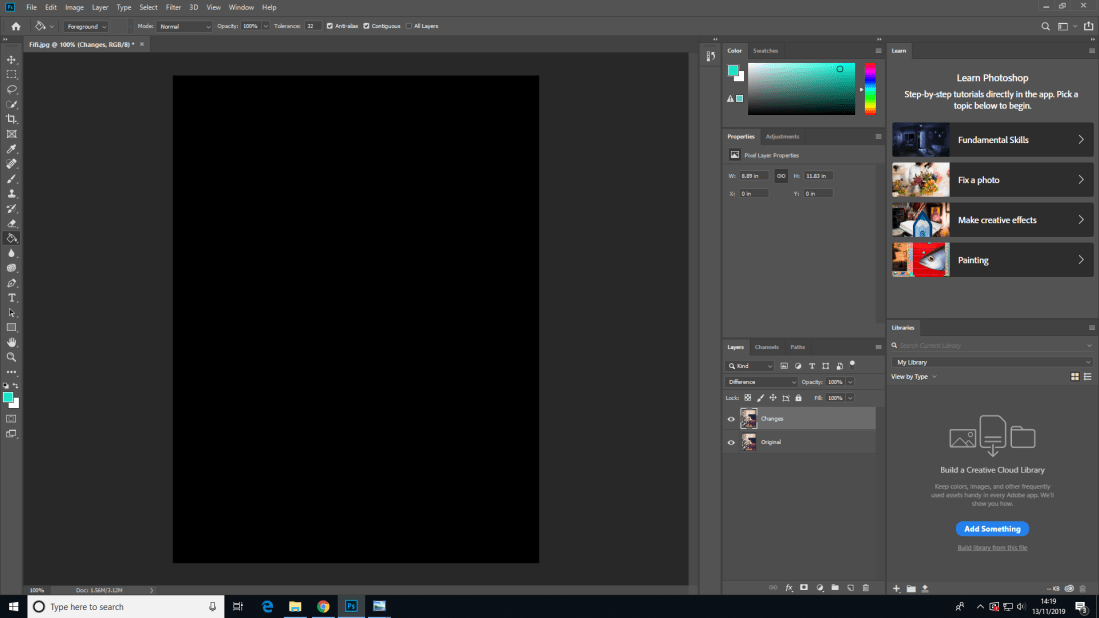
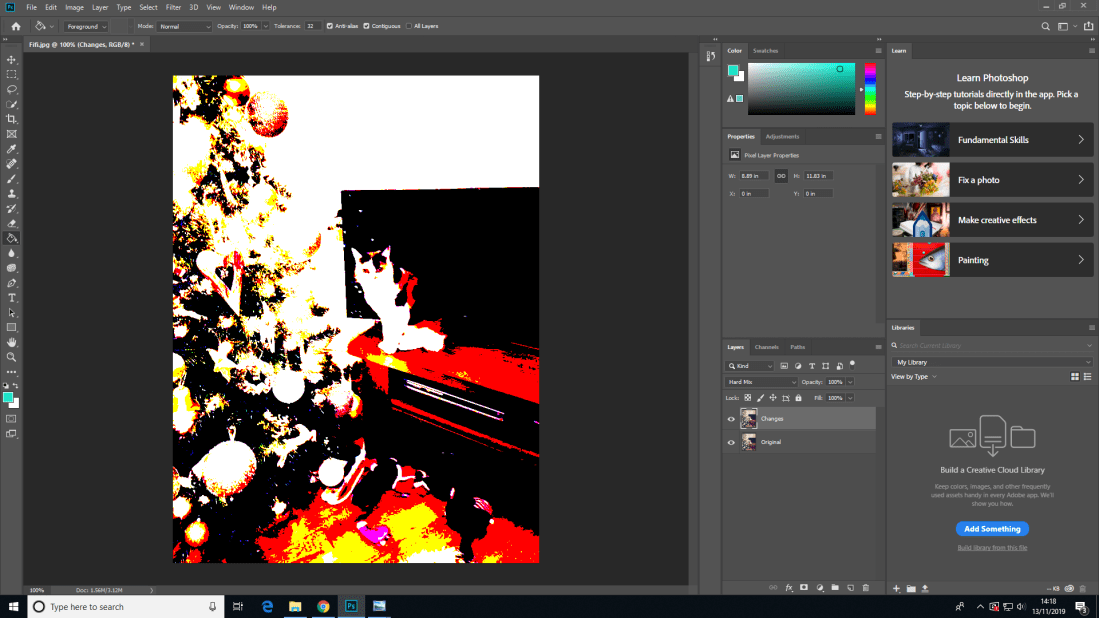
Hard Mix:
Difference:
Exclusion:
Subtract:
Divide:
Hue:
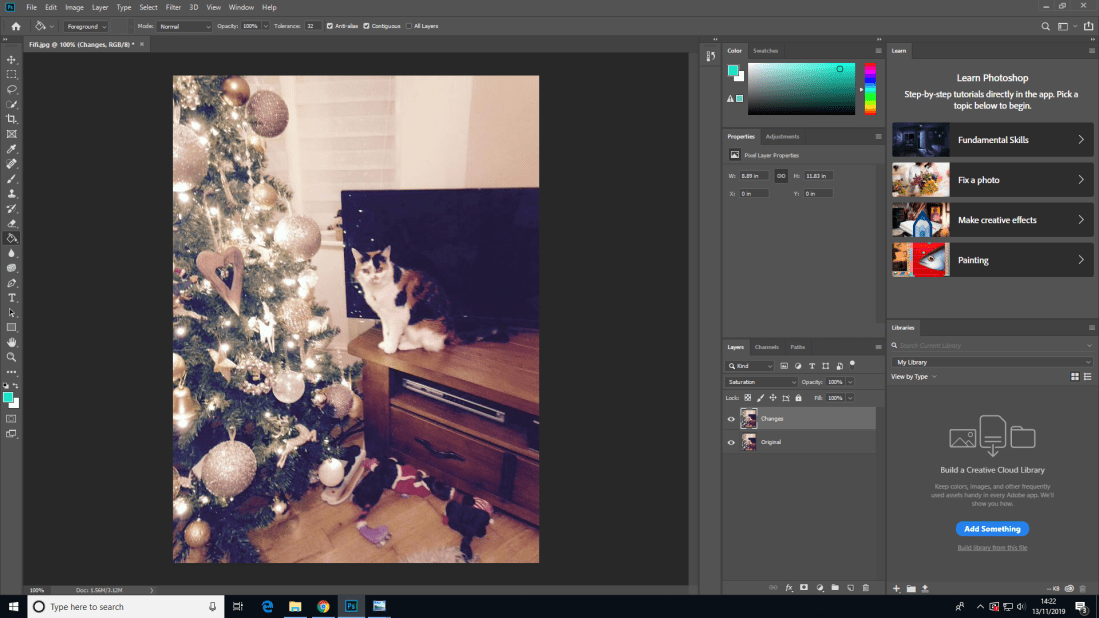
Saturat:ion
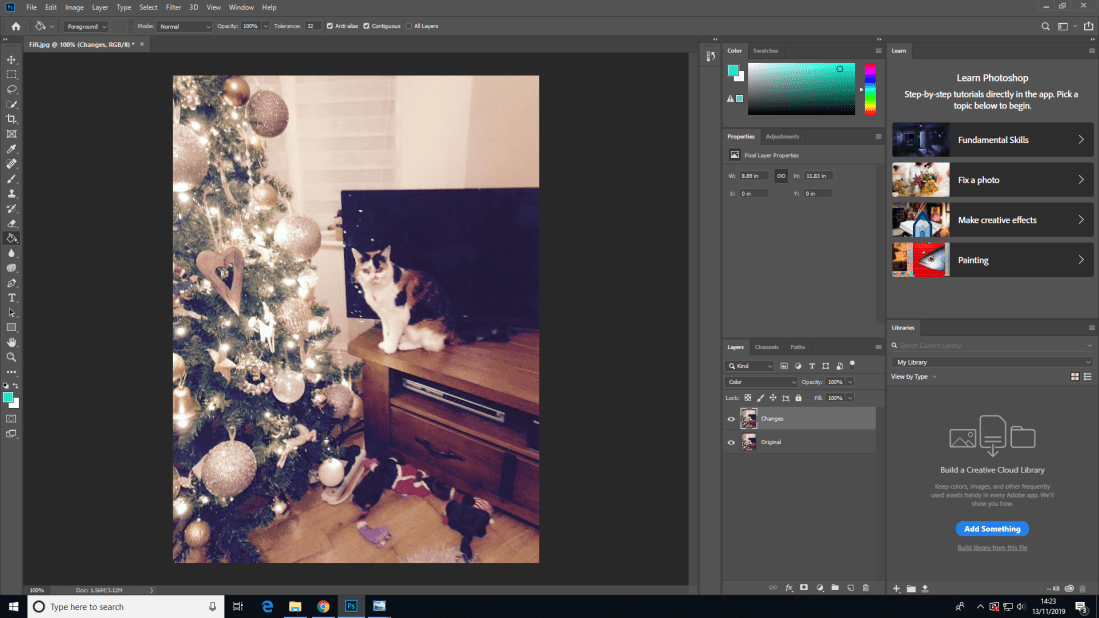
Colour:
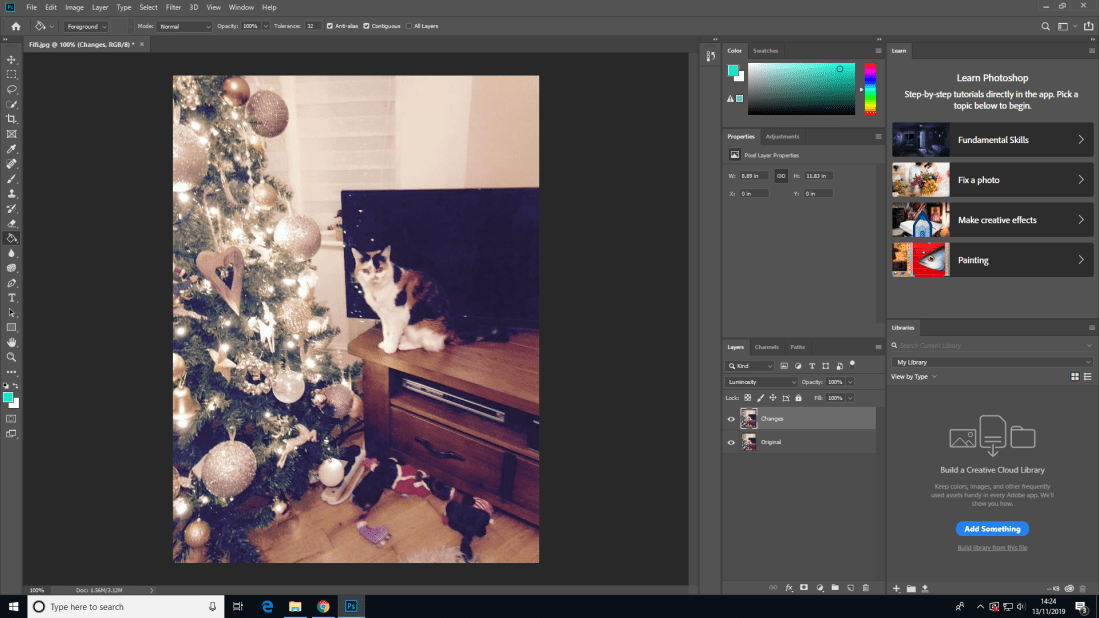
Luminosity:
Lighter Colour:
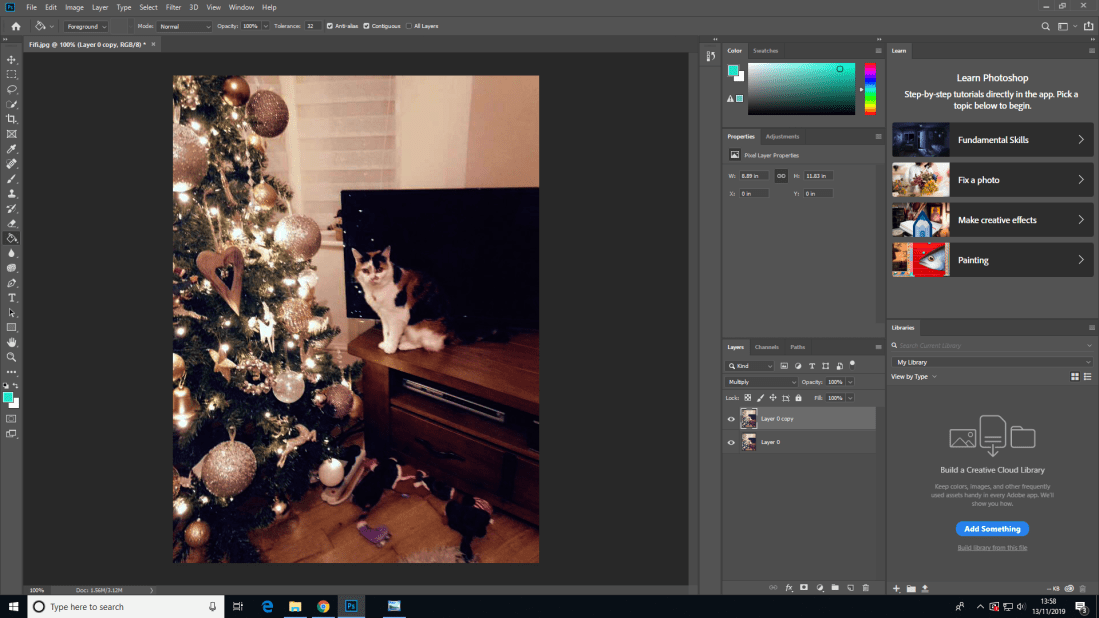
Darker Colour:
- Traditional Animation. (2D, Cel, Hand Drawn)
- 2D Animation. (Vector-Based)
- 3D Animation. (CGI, Computer Animation)
- Motion Graphics. (Typography, Animated Logos)
- Stop Motion. (Claymation, Cut-Outs)
means to make alive or to fill with breathe. Animation is the rapid display of a sequence of images to create an illusion of movement. The most common method of presenting animation is as a motion picture or video program.
Adobe After Effects:
Composition settings:
Preset: PALD1/DV Widescreen square panel
(25 frames per second)
Shortcuts:
Scale: S
Opacity: T
Rotation: R
Position: P
Anchor Point: A
Reveal all keyframes: U

Art Terminology:
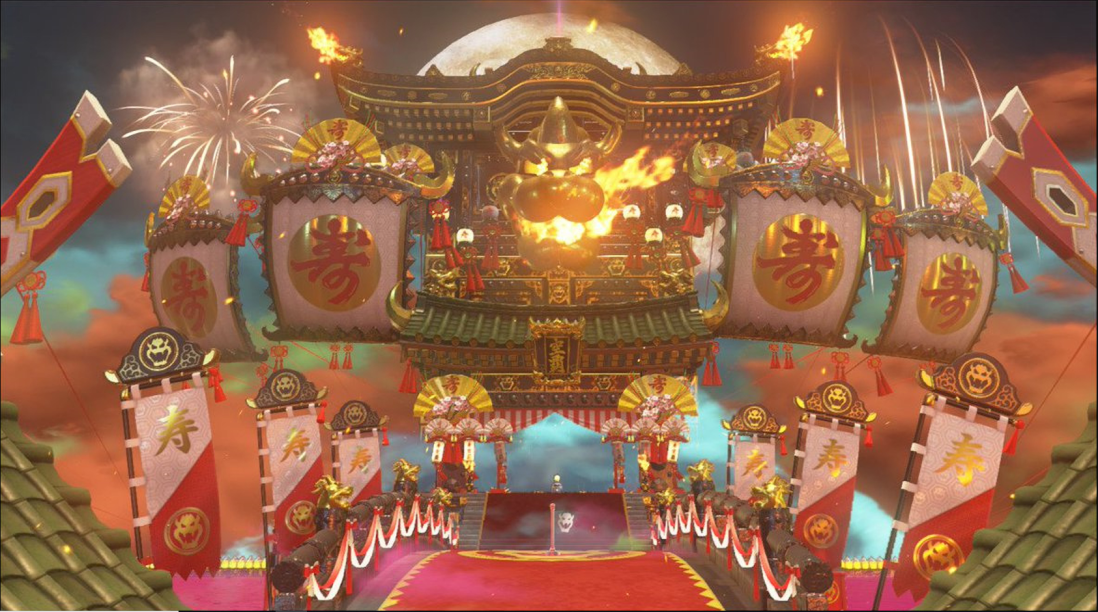
With the game I decided to talk about using art terminology, I chose Mario Odyssey, Specifically Bowser’s kingdom. All of the kingdoms are beautiful to experience while you run around as Mario but Bowser’s kingdom has to be one of my favourite kingdoms because of how much the art style, colours and assets were inspired by Japanese culture. In this screenshot from the game your eyes are immediately drawn to the giant Bowser head that is solid gold with flames coming out from the jaws.
Favourite Game Intro:
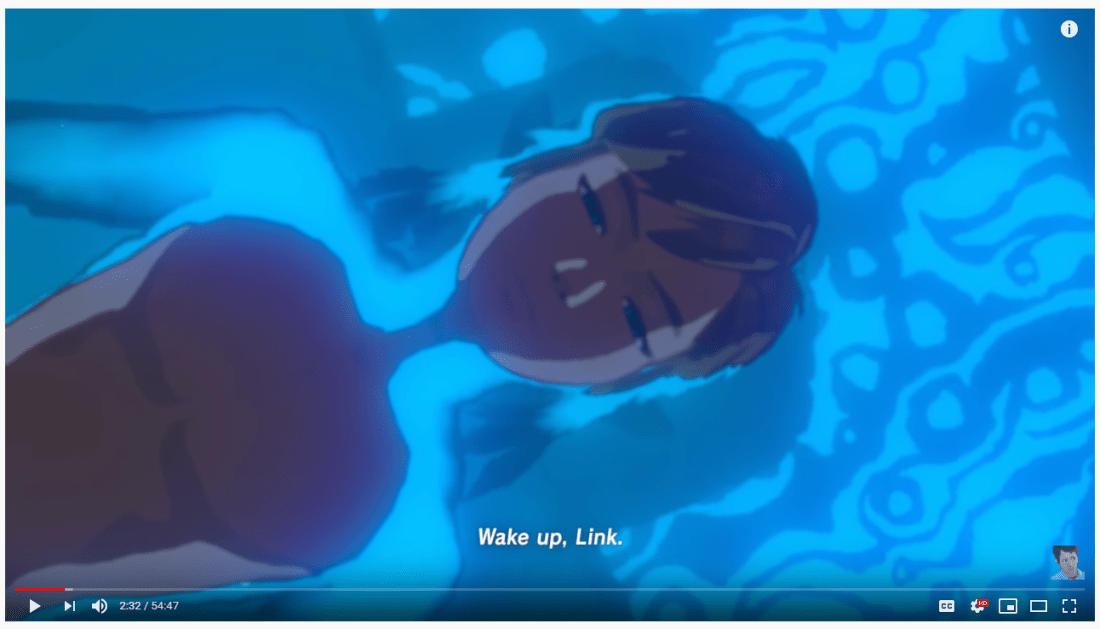
My favourite game intro would have to be Legend of Zelda’s Breath of the wild. The game is absolutely stunning as a whole but the intro keeps you trying to piece together what has happened as you wake up in a room alone as Link.
Animation In Adobe After Effects:
- Traditional Animation. (2D, Cel, Hand Drawn)
- 2D Animation. (Vector-Based)
- 3D Animation. (CGI, Computer Animation)
- Motion Graphics. (Typography, Animated Logos)
- Stop Motion. (Claymation, Cut-Outs)
means to make alive or to fill with breathe. Animation is the rapid display of a sequence of images to create an illusion of movement. The most common method of presenting animation is as a motion picture or video program.
Adobe After Effects Composition settings:
Preset: PALD1/DV Widescreen square panel
(25 frames per second)
Shortcuts:
Scale: S
Opacity: T
Rotation: R
Position: P
Anchor Point: A
Reveal all key-frames: U
Making the earth:
To get to know After Effects more, we were shown how to first make a simple space scene with stars, then we learned how to create an earth from a flat 2D image but to make it look 3D.

