Introduction To My Blog!

Welcome to my blog! My name is Ellie-Jane and I’m a year 1 games design and development student! In this blog I will start off with the basics, leading up to my first initial project and then onto more projects as my skills will develop as I go along in this year of study.


A Little About My Course:

The course i am studying is a level 3 BTEC extended diploma in games design and development. To make it shorter its a level 3 BTEC in Games Design and Development. With this actual course, I will be studying how to use many programs (Like unreal engine 4 and ‘MAX’ which stands for 3DS Studio Max). I will also begin to learn on how to make games look like how they do and he secrets games developers use to make games under a time limit but still make them as good as possible.

My Personal Goals:

With this blog, I want to show others how the course works and also provide helpful information to anyone that I show this blog to. This is because of games developers having to know multiple pieces of software very well and have the ability to know every part of a games production from post-production to the final product.

Programs That I Use:

  • Unreal Engine Version 4.19
  • 3DS Studio ‘MAX’
  • Adobe Illustrator
  • Adobe Photoshop


Games Design: Unreal Engine 4

With the software we are using, (also being a game engine) we can use it to develop levels, blueprints and assets! We can also do much more but for now we will focus on on visual style, game play and blueprints!

Visual Style:


visual style.PNG
Print Screen For Visual Style In Unreal Engine 4

With the visual style of this screenshot it shows clearly that all of the levels that were previously created, are stacked on one another as this helps the game engine load the world with all of the assets inside of it to make it look like a real game world or level! With the actual individuality of my designs.

BP_PIECES

-Screenshot of piece 1-

-2-

-3-

-4-

-5-

-6-

-7-

-8-

-9-

-10-

LEVELS

-1-

-2-

-3-

-4-

-5-

-6-

-7-

-8-

-9-

-10-

Gameplay:

With the actual gameplay aspect of my game (which is in development), there are so many things happening all because of simple blueprints which i programmed to do certain things, but onto that later. With gameplay, this means how good or bad your game runs and the overall emotions/experience that the player will feel. For example, let’s say you have just finished playing the demo of the latest Mario game. How did you feel after playing it? Would you buy the full game when it’s released? This is all down to gameplay! With the overall look of my game so far, it’s not the prettiest game but this is because of a technique called ‘greyboxing’.

Greyboxing:

Game Environment Report: Legend Of Zelda: Zora’s Domain

Breath Of The Wild:

In Breath Of The Wild, The latest installment of Zelda on the Nintendo Switch, one of the main quests is to free the four divine beats, one being called Vah Ruta. Where do you find them? Zora’s domain. This is where you find Sidon, the zora prince!

Enough background information though, with the environment the main kingdom area is set in is very complex. It shows a main structure being where King Dorephan is located. But the overall structure of the main palace area shows it to be a dome like shape for the base.

Zora_Domain

With the rest of the structure there are clear beams for the structural support for the two staircases seen in this photo. But there are also smaller beams which are there for visual pleasure to the average player, like myself. With the extra add ons in the environment there are multiple pillars to provide sources of light.

The giant fish head is the first thing that a normal player would pick out because of the size and detail and complexity in the model. This is because of everything else being much simpler in design and textures so the fish head really does stand out. From a gameplay point of view this gives you an indication of where you need to go.

Seamless Worlds:

So the second two day project is over. With the initial project it was called ‘Seamless Worlds’. When I was given the title of the project I wasn’t expecting the task at hand. I was expecting procedural generation to be a big part of this but it wasn’t.

So for the process of making this happen, it started off with looking at examples of the project’s task. Which is making a room with only 5 pieces. One wall, a corner piece, a door piece, a ceiling and finally a door.

This slideshow requires JavaScript.

So with the steps it was quite simple.

  1. Create 7 seperate textures for the pieces (because the floor needs 3, the walls need 1 and the ceiling needs 3)
  2.  Then create 3 cubes inside of unreal measuring 300 by 200 by 100. (This is known to be an additive cube.)
  3. Duplicate the cube and change it from additive to subtractive.
  4. Then change the values to 280 by 190 by 90.
  5. Move the subtractive cube to make the cube have an overall look like it is missing parts of the original cube.
  6. Keep tweaking until you have a piece which looks like how you wanted.
  7. Repeat 3 more times for the 3 seperate pieces

‘House Of Cards’

With the first of four two day projects, this one is called ‘House Of Cards’. With the assignment brief, it goes on to explain that with the skills we have gained over last half term we are to make a playing card which has textures, a polygon model and also physics. This may sound like a mouthful for two days but it really wasn’t in my opinion.

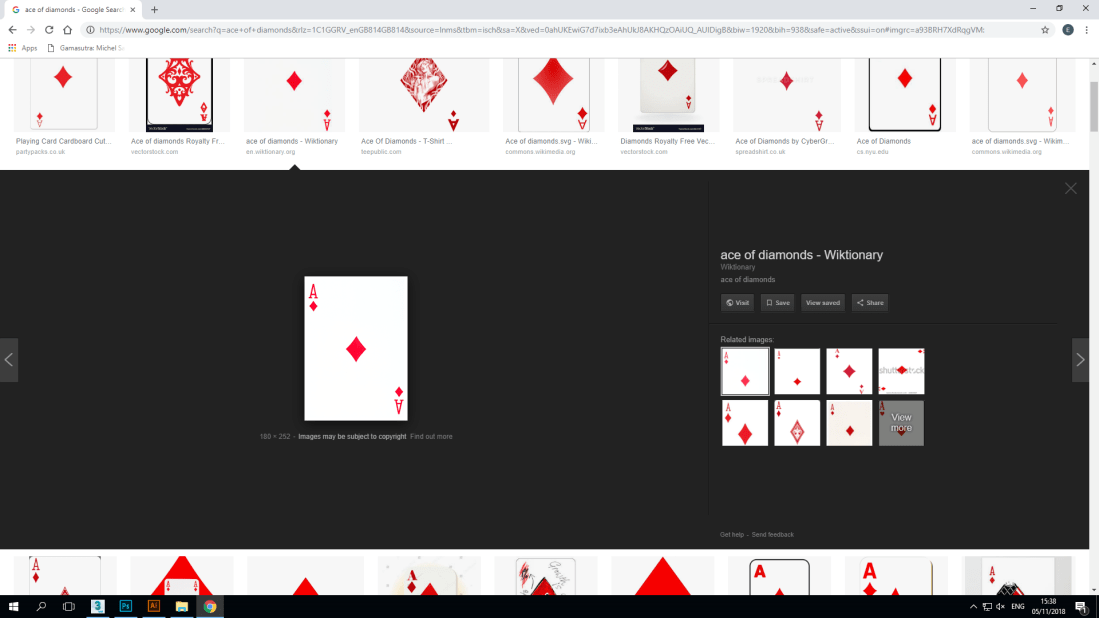
With making a playing card, I first began to research what they look like (their general design in other words) and began to get measurements that I could use in 3Ds MAX. The overall process of making the card was very simple, create a box to the desired measurements and ‘chamfer’ the edges to make them round.

Screenshot (62)

Then came the part that took more time and consideration. This was making the texture in Photoshop, but how can you do that with no base? That’s what a UVW file is for. This basically creates a net for the 3D object you wish to give a texture to but it also aids game developers in knowing where to place certain parts of the textures to make the 3D object look much more realistic in how it will look overall, rather then stressing out and constantly guessing and tweaking.

Screenshot (76)

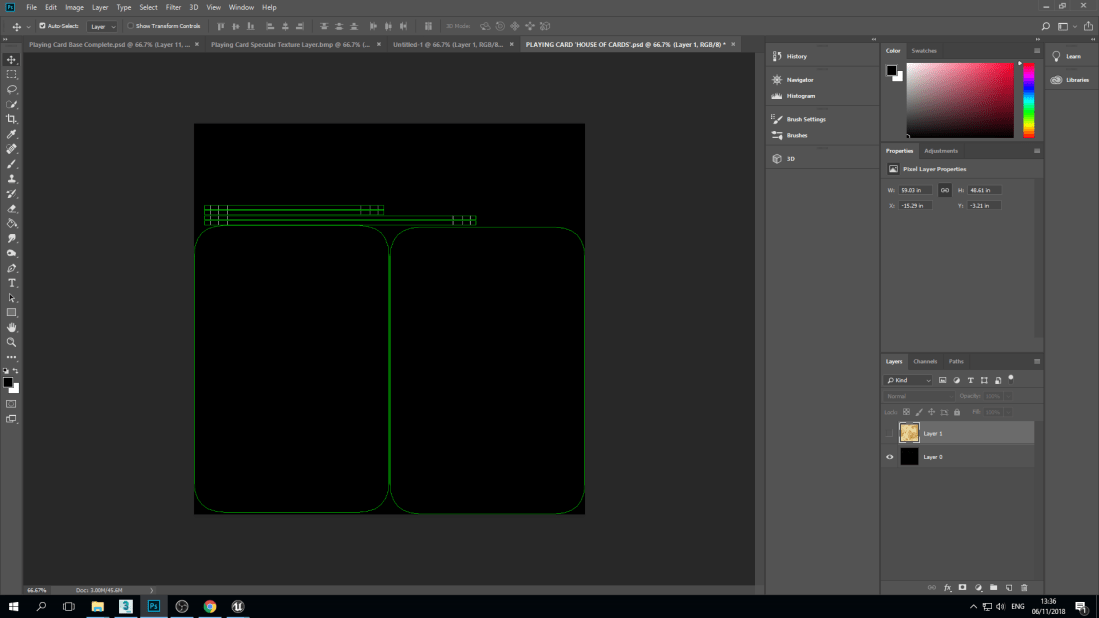
This is the base that I use for the Photoshop ‘transformation’. To make a playing card have the effects you want, it’s best to have a picture off of the internet. Which is what I did. I just used a 1040 x 1040 resolution photo of some parchment paper as the base for my playing card texture.

Then came the fun part. With complete creative liberty you can let your mind run wild, a very crucial skill game developers have. Imagination. With mainly four tools, different brushes and hardness settings, I was able to come out with my overall result.

(For the whole process, check out my YouTube channel!)


This slideshow requires JavaScript.

Here are the steps I took to creating my card.

  1. Use the burning tool and dodge tool (with a speckle brush) to dirty up the layer and give it the effect of it being damaged and stained.
  2. Create diamonds and letters in adobe illustrator then add them onto separate layers.
  3. With the separate layers, use the dodge tool, burn tool and smudge tool to create the desired effect, make the card harder to read to show how often it’s been played.
  4. Keep adding to it until I was happy with the overall result.


Love And Loss: Final Day Of Production

Sadly, it is the final day of production for my game like environment. With doing a project in a small amount of time has really made me realize that planning ahead of time and having personal deadlines can really benefit the overall look of the game environment.

Reflection:

For the amount of time that I was given to complete this project it did give a sense of reality and how this first project would need to be simpler than others which I will do later on in the duration of the course.

With the final version of my game environment I am personally very happy with what I accomplished and I fully understand that my peers may have pushed themselves further with their game-like environments. The reason why I did not do this is because firstly I missed half a day of a production day due to a hospital appointment, that time was going to be used to not only create better coffins but also ravens which were going to have physics so that they would fall off gravestones and coffins when their collision boxes were collided with.

Why I didn’t get this far isn’t only because of me missing production time but also because of major problems with Unreal Engine. The main one was this.

As you can see, there are holes in my game. Don’t think they’re intentional. They aren’t. This was the huge problem that I was experiencing in my game-like environment. Why? It took me two days to figure out what exactly was going on. It took 5 level blueprints being recreated and looking thoroughly into my game’s individual pieces for the levels and assets. Turns out not only were the levels missing assets but complete pieces, which is why the holes were there in the first place…

Then came even more frustration with trying to fix the issues.

Firstly I had forgotten to add major things into the blueprints, which meant that the environment wouldn’t load up properly.

After it was all done, this is the final result:

If I had more time, I would’ve came up with a more complex idea and really pushed myself to come up with something which would be more personal to me and have a greater overall outcome.

Loss And Love: Complications And Frustration

So, with the progress of my project I had been helping out one of my classmates with textures for his city environment, in return he helped me with a pumpkin 3d model for my graveyard themed environment (The pumpkin is there because it’s near Halloween).

Here you can see my screenshots for the textures that I have made for my collaboration partner. There were many more textures that I completed inside of Photoshop but here is just a sample of the work I completed Monday morning.

As for the rest of that day, I tried to complete many things. That being I was going to fix everything in Unreal that needed to be completed , some of those thongs being lighting, blueprints and textures.

That’s when more problems came into play. Unreal wouldn’t launch at first whoch was alarming..so when I finally got it working I expected that there wouldn’t be anymore issues because of the engine crashing. (Was I wrong).

The main issue I was having with Unreal was that was when I selected an object to scale and transform it, the scale tab on the right hand side wouldn’t come up at all, which was highly alarming as I wanted my gravestones to be symmetrical.

Love And Loss: Production Day One

With the first day of production, I had a speak with the course leader Jez and got some advice on how to make my ideas work. The idea was to have the moving platforms have coffins on them which will rise up (via the moving platforms) and they will actually rise from a grave with no coffin inside of it.

Then I decided to work on my gravestone models in 3DS ‘MAX’.

As you can see here I did initial research and also textures but this process was honestly very tedious because I couldn’t find any templates that I liked then the texture models weren’t to the initial resolution that I wanted to work with. And then add Photoshop on top of that.

My Project: Love And Loss

Why Did I Name My Project This:

The main reason why i named my project is because of my first initial project being a graveyard environment. With graveyards, it’s known that you will always have some sort of connection with the deceased, either with their cremated ashes or their gravestone. For why i chose a graveyard environment is because of it being October, Halloween season. Another reason is personal to me. Graveyards have always been interesting to me and I wanted to be able to experiment with an interest of mine in a creative way (which also involved one of my personal favourite holidays, Halloween!).

Brainstorming: My Personal Process:

With coming up with the idea for my environment, I used multiple kinds of mind maps. One for the overall theme for my environment of choice.

Environment Mindmap

Then came the mind map that i have completed for my environment, being a graveyard.

Graveyard Mindmap